All combustion engines, no matter whether they are diesel, petrol, alcohol or bio-fuel driven, produce emissions. These often dangerous gasses are ejected from the vehicle via the exhaust system. This is connected directly up to the engine head via the manifold, and used to funnel all the waste fumes out of the pistons chambers. The exhaust has many parts – these include:
Exhaust manifold
This is the system of pipes that actually connects up to the engine and is used to directly take the products of combustion away from the engine. It looks like a series of smaller pipers that link to one large pipe.
Catalytic convertor
All modern exhausts are now fitted with catalytic convertors. These parts help remove toxic particles from the engine’s emissions via special filters that are made with expensive trace metal elements. They can be quite expensive to replace.
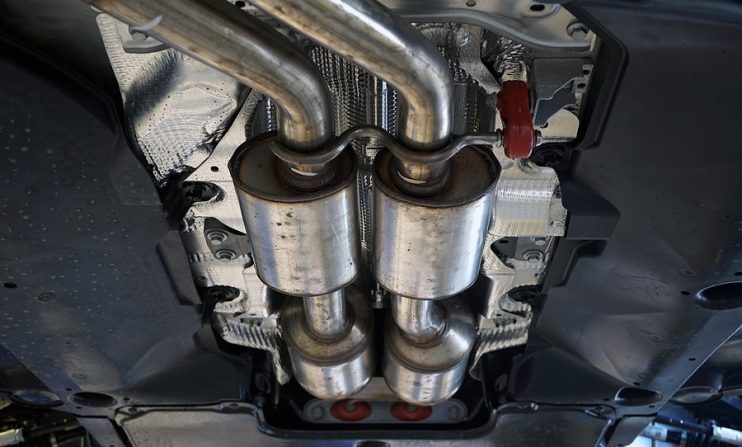
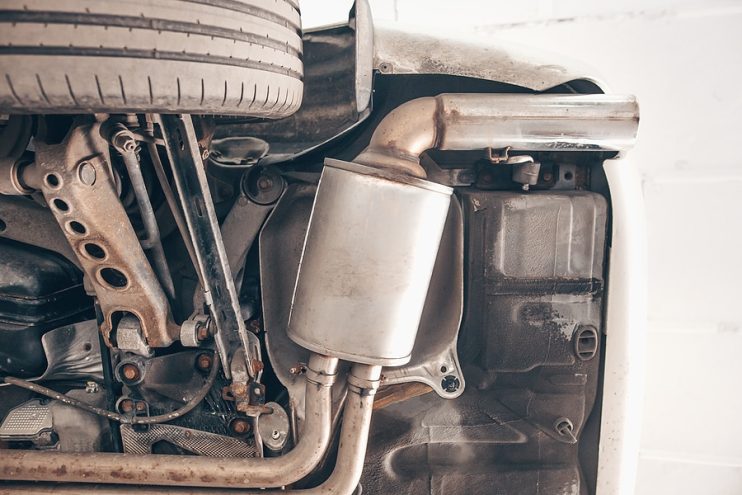
Muffler and tailpipe
Due to the way in which the exhaust gases are released by the engine the exhaust can make a lot of noise. The muffler looks like a box that sits on the end of the exhaust with the tail-pipe coming out of it.
Replacing an exhaust
In order to change your exhaust, you need to follow these steps:
Assess the parts needed
The first step is to work out what parts of the exhaust you need to change – are there problems with the catalytic converter or is the tail-pipe damaged? Make sure you’ve got the correct new parts before you begin your work by comparing them to the old parts to make sure they’re the same size and shape.
Jack up your car
You’ll need to get underneath your car in order to change your exhaust. Do not use just a jack in this instance – you’ll want to make sure that you support the front wheels too either on blocks or ramps and it’s vital in this situation to make sure that you’ve got the brakes fully locked on.
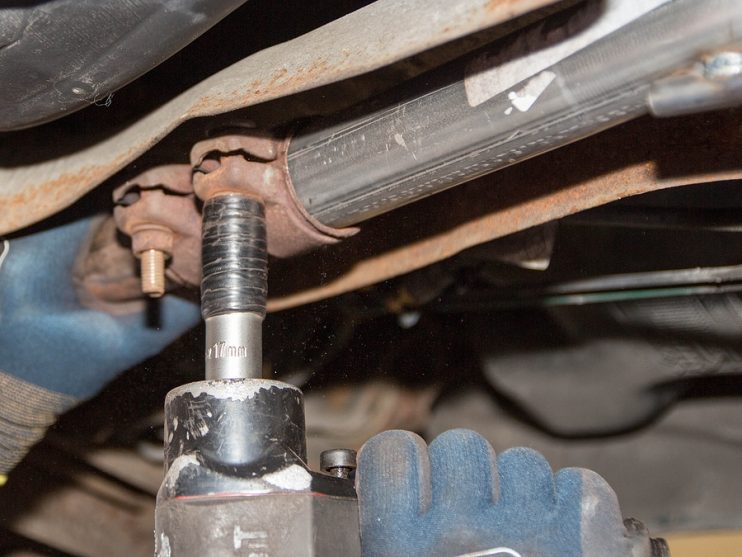
Unbolt the old parts
Next, unbolt the old parts from the base of the car. In order to do this you may well need a sliding backboard to give yourself easy access to the underside of your vehicle. You’ll want to start the unbolting process at the back of the car and slowly work your way towards the front. As the bolts are exposed to all kinds of grit, water and dirt on the bottom of your car, they’ll often be rusted in place. You may need to use some kind of oil spray or a wrench and hammer to get them loose.
Remove the exhaust
After you’ve removed the final bolts you’ll need to remove the exhaust from its hangers. As new exhausts are often supplied with new hangers you can often get away with cutting the old exhaust free from its hangers and discarding the old parts. When you’re fitting the new exhaust, it’s usually easier to put the hangers on the body of the part before fixing it to the body of your vehicle.
Attach new exhaust
When you’re attaching the replacement exhaust you should reverse the order in which you took unbolted the part from the car. If you removed gaskets during the unbolting process you should either replace these with new gaskets or clean up the old ones and reuse them whilst putting the new exhaust in place. When you’ve finished bolting the part in place make sure that you’ve got everything in line.
Test exhaust system
Once you’ve put your exhaust in place then the final thing to do is test the car’s engine. Start it up and have a look under the car to make sure that no exhaust fumes, which should be clearly visible, are leaking then go back and check all the parts are firmly in place and that the gaskets are tight.


.png "Plant trees in BreakerLinks forest")
Pingback: Checking your Car’s Exhaust System - BreakerLink Blog