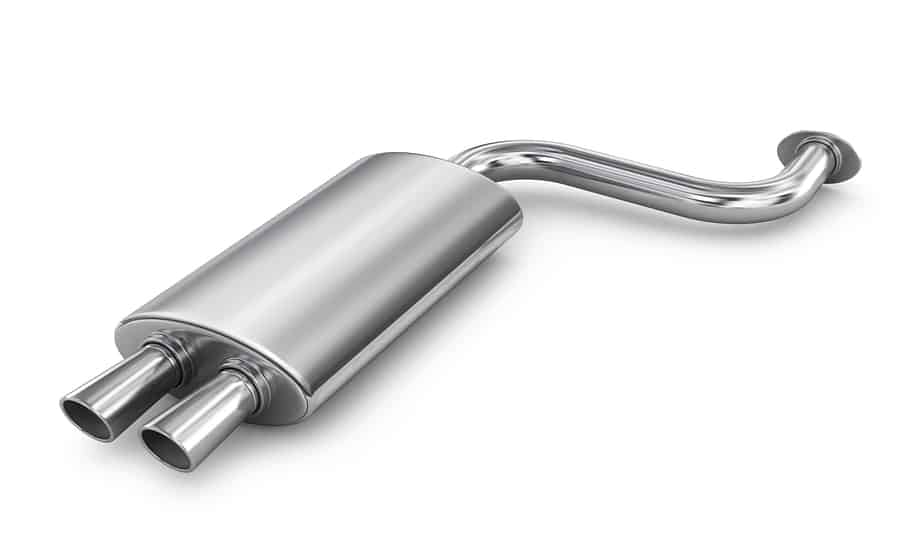
What function does the exhaust back box perform in the engine? It takes the hot and fast moving gasses produced by the process of combustion and slows them down. This part is essential when it comes to running a smooth and quiet vehicle.
Unsurprisingly, the first sign that there are problems with this part is a noticeable increase in the volume of the exhaust. You may also experience different vibrations than you normally experience when you’re controlling the car’s clutch, and there could be a change in fuel efficiency.
Replacing the exhaust back box is a moderately difficult process, and should only be undertaken by someone who has had experience with similar mechanical work.
You will need: spanner or socket set, saw, hammer, car jack and two jack stands.
Prepare Your Vehicle
Before you commence with the replacement work you’ll need to jack up the car on a hard, dry and level surface. Jack up the rear of the vehicle and put a jack stand on each side of the car to support its weight. This will allow you access to the exhaust back box
Locate the Exhaust Back Box
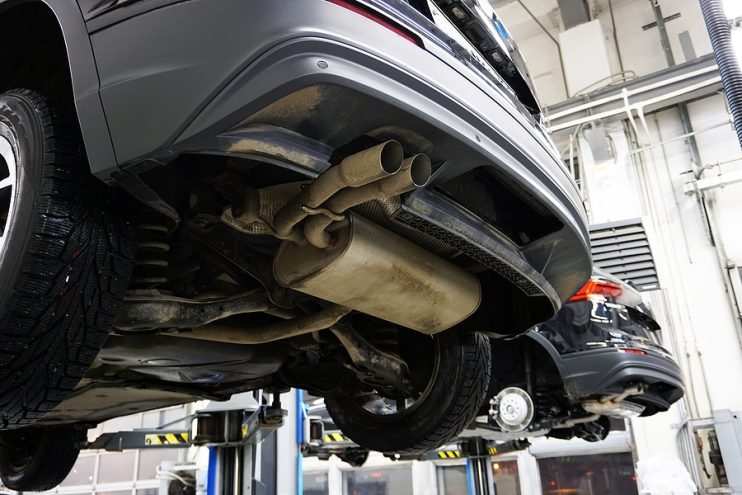
Using a backboard, slide under the car and look for the exhaust back box. This will usually be found in between your vehicle’s catalytic converter and the rear axle. Once you are aware of the position of the silencer, spray some lubricant on the fixing nuts. As these are under the car the chances are they will be partially rusted or affected by dirt, making them difficult to detach.
Remove the Exhaust Back Box
Use a spanner or a deep socket to now start working on the fixing bolts that hold the exhaust back box to the car. These may take a considerable amount of effort and energy, and if you’re having trouble try using more lubricant and then waiting for it to take effect. When you have detached the bolts, use the saw to cut away the exhaust pipes immediately in front and behind the silencer. Finally remove the hanger that holds the silencer in place.
Attach the Exhaust Pipes
Carefully smooth the ends of the exhaust pipe and split them slightly to allow them to slip into place on the back box. Next slide clamps up both ends of the pipe, and apply a liberal touch of sealant. You should now be able to slip the silencer onto the ends of the exhaust pipe and move the clamps into place.
Bolt the Back Box to the Car
Now that both exhaust pipes are attached to the back box, use the hanger to reattach the part to the car. Take the original bolts and use the spanner or socket set to tighten them in place and finally make sure that the clamps are fully tightened around the in and out vents on the silencer. Once you are satisfied with their placing, take the car off the jack stands.
As with all mechanical work, once you have replaced the back box, you’ll want to go out on a short test drive. If the exhaust is still making an undue amount of noise then go back and check the seals and the fixings on the back box to make sure these are held properly in place.


.png "Plant trees in BreakerLinks forest")