Have you been experiencing some strange behaviour from your car when you put down the accelerator? Is there a clicking noise sounding out from underneath the bonnet as you turn corners? If you are experiencing either of these symptoms, with a serious drop out in the power and traction of your front wheel drive vehicle, then there could be a very big chance your front axle is approaching the end of its lifespan.
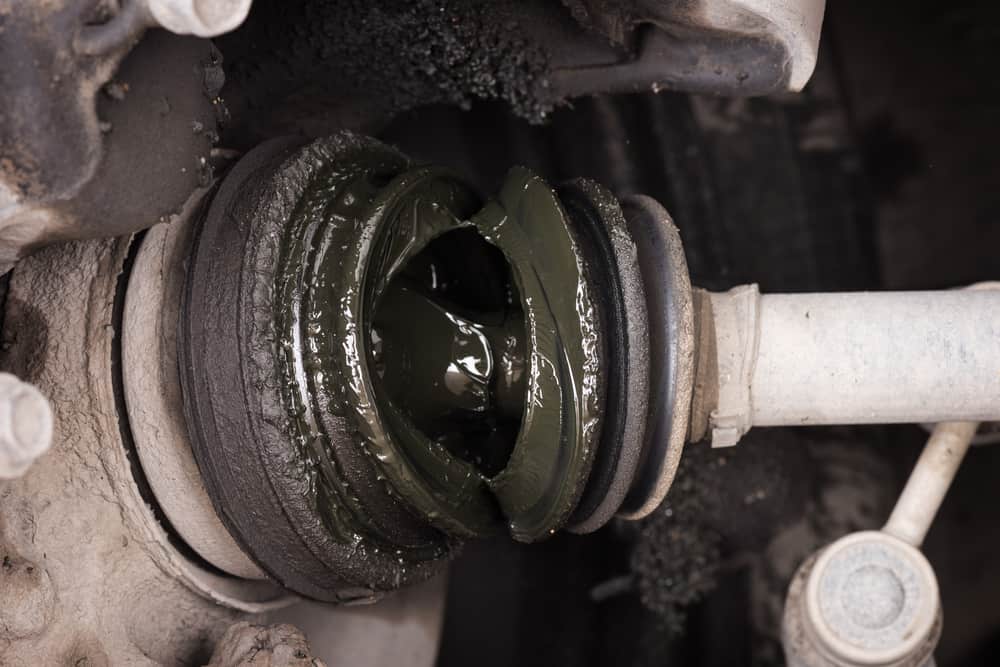
In a front wheel drive car this part is known as a constant velocity axle. It can fail for a number of reasons including a hole or leak in the main mechanism or a loss of grease leading to increased wear and friction. Replacing this part is a reasonably complex task and should be attempted by someone with reasonable experience working with mechanical systems.
You will need: car jack, jack stands, flat-headed screwdriver set, spanner set, wrench, socket set.
Remove of the Central Axle Nut
In order to achieve the required torque to remove the central axle nut from each front wheel, do not jack the car up as the contact with the ground will give you the required pressure to loosen this often tough fixing. Firstly pop off the hubcap then locate the central nut, which may be held in place with a split pin. Take this out of its housing then use your socket set to loosen the central nut. As this is often tough to remove you may wish to use an automated tool.

Detach Wheel
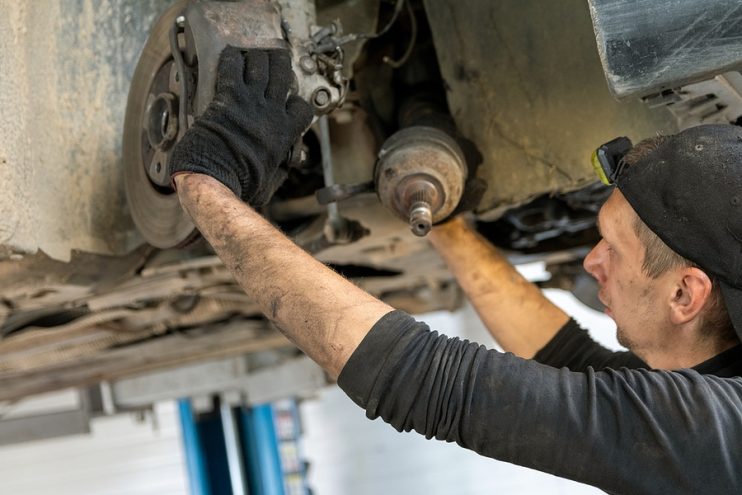
When you have successfully removed the main axle nut you should now be free to jack up the car. There should be a plate on the vehicle’s bodywork designed to support the pressure created by this device. When you have fully jacked up the vehicle transfer it over to a jack stand as this will offer an increased level of stability. Now you can safely remove the wheel in the same way as you would when changing a flat tyre.
Remove Brake Caliper
Once you have taken off the wheel you should be able to clearly see the brake caliper and the rotor. Unbolt the mounting bracket that holds the calliper in place then carefully suspend this part using a cord or rope from the vehicles bodywork to keep the slack within the brake cable. Forcing undue tension onto this cable could warp or damage it affecting the performance of your brakes.
Unbolt the Outer Rod and Hub
The outer rod is a metal rod that is bolted securely to the steering knuckle, behind the brake rotor. This may be held in place with a pin that needs to be removed before you attempt to loosen the bolt. Remove this part by unbolting it from the knuckle. Next remove the bolts that hold the hub to the strut tower, which should finally allow you to easily take it off the axle.
Replace the Axle at the CV Joint
Trace the axle back to the point at which it is connected to the vehicle’s gearing system. You should be able to use a strong flat-headed screwdriver to ease the axle away from this joint. You may wish to position a pan underneath the part as a small amount of transmission fluid is often released when the axle is removed from the vehicle. Next, place the new axle into the CV joint and push it until you feel it clip firmly into place and then thread it back through the hub assembly.
Reattach Remaining Parts
Finally reattach the remaining parts back to your vehicle in reverse order starting with the hub then bolt the rod back onto the steering knuckle. It is then a simple case of putting the brakes back on the hub and replacing the wheel on the car, and you should be ready to test drive your newly responsive vehicle.


.png "Plant trees in BreakerLinks forest")