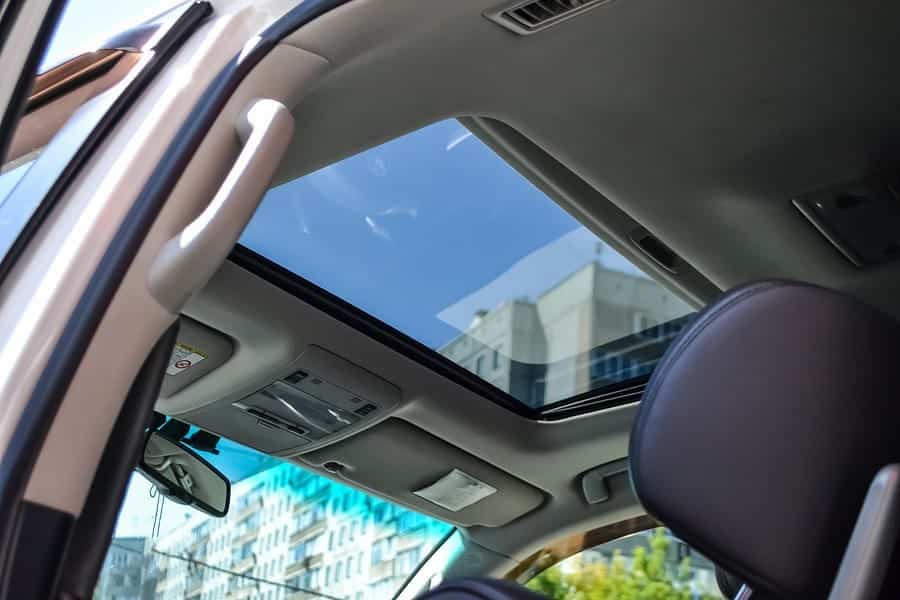
Yes, in the summer there’s nothing quite like a sunroof. It’s the easy way to let the heat out, the light in, and a cool breeze through your cabin. However, if this window in the top of your car starts leaking, it can be a nightmare experience, causing passenger discomfort and even distracting you when you’re driving.
Water is never good on your upholstery either, with watermarks often causing stains and the constant drips could even damage your internal electrics for windows and creature comforts, such as the infotainment system, ultimately devaluing the resale value of your car. Usually the culprit behind the leak will either be blocked drainage holes or a broken seal – which can be repaired with a little hard work and some attention.
Table of contents:
How to tell if the Sunroof is Leaking…
Obviously if the sunroof leak is severe, then you’ll be able to identify it straight away, but larger leaks usually always start off as smaller, almost unnoticeable drips and streams. Giveaway signs include a musty smell in the cabin and mould spores growing on the carpet or seats. Additionally water spots in the interior are a sign you need to get the roof checked out. Staining in the headliner and small drips around the edge of the sunroof are perhaps the clearest signs you’ll find.

The Problems – And How to Fix Them
As we mentioned before, blocked drainage holes and a broken seal are the two likeliest culprits when it comes to a leaky sunroof. Fortunately, both of these problems can be easily fixed using the following methods:
Blocked Drainage Holes
If your car is suffering from blocked drainage holes, try to resist the temptation to poke at the blockage with a coat-hanger or to force the material through with an aerosol. Both of these methods could damage the inner tube and cause bigger problems.
Method One
You’ll need your car vacuum, a trap adaptor that funnels the suction through a small opening, a vinyl hose and a hose plug.
- First rig up your equipment. Put the trap adaptor on the end of the vacuum hose and then connect this to the vinyl hose using the hose plug. You now have a piece of equipment that will suck the dirt out of a very small opening.
- Now use the hose attachment to suck the dirt out of the ingress. The tighter the fit you can make between the hole and the hose, the better this method will work.
- When you are satisfied the hole has been cleared, then test it out by pouring on a little cold water. If the water takes time to clear, then you may want to use the hose a little more to completely free the ingress of dirt.
Method Two
Hoover didn’t clear the blockage? Try this technique next…
You’ll need an extremely flexible and pliable piece of metal that will easily bend. Think of a bicycle brake cable or a speedometer cable, which will move with the interior of the pipe tubes.
- Insert the wire into the hole and very gently apply a little pressure to get it moving through the internal systems of the car, but be very careful not to push too hard.
- Once the wire is in the hole, use a very small amount of tension to twist it left and right as it goes deeper, as this motion should be able to displace the dirt.
- Drop a small amount of water onto the drainage hole and watch. If the hole is working properly it will clear the water quickly and easily. Be careful however not to flood the newly cleaned channel.
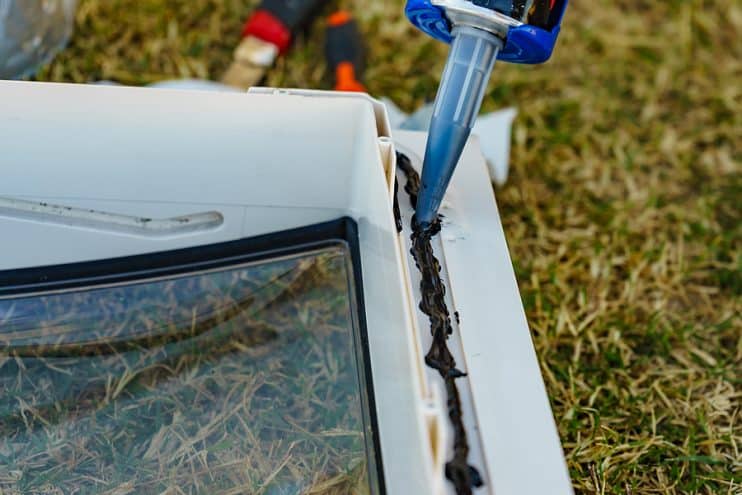
Leaking Seals
If the holes are nice and clear and you’re seeing drips around the edge of the seal, then you’ll need to find some black liquid electrical tape. Two of the most popular UK brands include Starbrite and Perfomix.
- Firstly you’ll need to scan the seal for cracks and signs of mould that give away where the seal is leaking. You may even need to get a magnifying glass to truly inspect the seal. You’ll be looking for pools of water in the surrounding area and spots of mould.
- Once you have found the visible wear and damage, apply a thick layer of the black liquid electrical tape and wait for it to dry in line with the manufacturer’s instructions.
- Close the sunroof and check that the water ingress has been halted. Ensure that there’s no more leaks in the sunroof by gently emptying a small glass of water on the impacted area.
The Professional Solution
If none of the above methods work then don’t try to take the mechanism apart or bend the sheet metal for a better, snugger fit. If you can’t solve your leaky sunroof problem, then it’s time to look further afield for advice. Professional help will cure the issue, but you’ll be looking at paying a reasonable amount for a mechanic to check the bodywork.
There are of course steps that will help prevent these problems. The safest money always states that prevention is better than cure. So remember to regularly lubricate the tracks and bearings with a heavy silicon grease to prevent serious damage to the mechanism that will require some serious tinkering to fix. It’s also a great idea to use the vacuum method twice a year to stop the drainage holes from getting blocked.


