Blog » How to Replace Your Air Conditioning Low Pressure Switch
How to Replace Your Air Conditioning Low Pressure Switch
Your car’s air conditioning system has two switches that protect the compressor and the refrigeration circuit. The low pressure switch turns the system off when the pressure is too low to prevent damage to the compressor. Like all parts of your vehicle it has a limited lifespan. If you are suffering from problems like an intermittent response from the AC unit when you turn it on, a lack of cooling or an outright failure of the system then the problem could be a faulty low pressure switch.
Fortunately
we have created a guide to replacing your air conditioning low pressure switch
that gives you all the information you need to replace this essential part,
however due to the costs involved and equipment required it is more cost
effective to have a specialist carry out this work.
How to know it needs replacing
Your AC
pressure switches are located on both the high and low sides of the unit. These
switches monitor and check the pressure of the refrigerant on both sides of the
system, with separate switches for both the high side and the low side, which
both serve to prevent pressure issues causing damage to the compressor.
Should the
pressure of the system drop below 25 psi, the system is shut down momentarily,
stopping the system from getting too cold and freezing up, which can cause
damage to the unit, especially in colder climes. If you want your air
conditioning unit to stand the test of time, then regular checks and changes to
the switch are essential.
Tools you will require:
You will need
some specific tools for this job:-
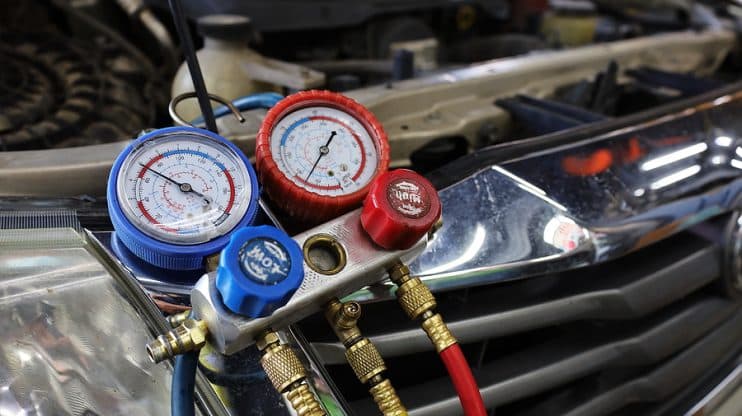
Air conditioning gauge set
Air conditioning recovery machine
Refrigerant
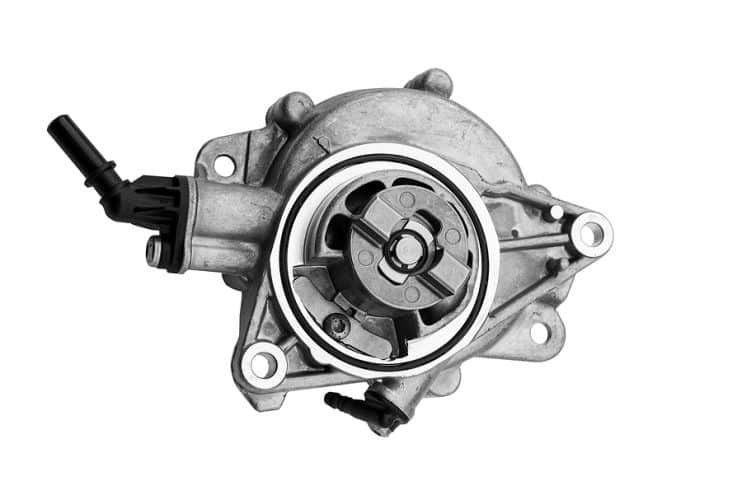
Vacuum pump
New pressure switch
Rubber ring (with switch kit)
Protective gloves
Eye protection goggles
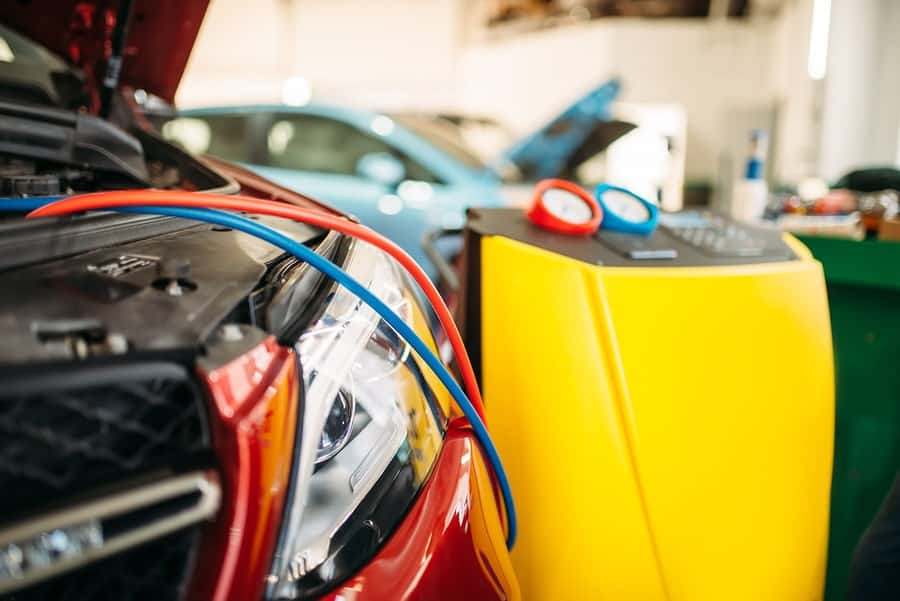
1. Clear out the Refrigerant
The first thing to do is to remove all the old refrigerant in the system. However make sure you follow the environmentally conscious step of handling these gasses properly. Releasing the refrigerant into the air is not permitted as it contributes to greenhouse gasses.
You need to fix the hoses of the recovery machine to the air conditioning valves in order to safely dispose of the refrigerant:
Attach the recovery machine’s pipes to the appropriate valves – you need to find both high pressure and low pressure valves.
To find the low pressure valve, simply trace the larger pipe from the compressor to the accumulator, which should be located close to the firewall. Then find the high pressure valve by following the smaller hose from the rear of the compressor unit.
Activate the recovery machine and it will remove all the refrigerant. It’s that simple. Watch the gauge to check when its finished and the job is done.
2. Replacing the Switch
Consult your
manual to find the exact position of the air compressor switch, or if you want
more details then the internet forums for your car can help you out. Once you
have found the switch, take the following steps to remove it:
Unscrew the switch from its position by using a smooth action. Check that the new part matches with the old part before going further through the process.
Replace the rubber ringand replace it with the new one, which should be included in
the kit for the new pressure switch.
Fit the new switch by screwing it into place and then leave it in the same position as the old switch.
3. Removing the Moisture
Completely
remove all the moisture from the air conditioning system before you fill it up
with refrigerant and finally test it.
Set the air conditioning gauge and attach it to the pressure ports that are detailed in the first step of the process.
Attach the vacuum pump from the gauge and turn it on, along with the service valves. This process is designed to remove all the moisture from the system and takes roughly one hour to complete.
4. Restoring the Refrigerant
Once the
moisture has been completely removed from the system, you will need to close
the service valves on the gauge set and disconnect the vacuum pump.
Fit the can tap that comes with the gauge set and connect a can of refrigerant to it, then you simply open the can together with the service valve on the gauge set, allowing the system to fill with refrigerant.
Keep on repeating this process until the system is completely full. You can get an idea of how much refrigerant is needed by referring to your car’s manual.
5. Testing
The final
stage is to test the system to ensure that it all works. Simply remove all the
pipes and close the valves. Let the engine rest for about 10 minutes before starting
the car and turning the air con on fully and enjoying the cold blast. Last of
all check that the air compressor pressure switch works.
Remember
It’s these repair jobs and maintenance replacements that can help save you money and time. Keeping your air conditioning maintained will not only improve your in-ride experience, but broken air conditioning can actually cause more widespread engine problems. A little service every now and then works miracles from time to time.
It is not
uncommon for a car to suffer problems with the air conditioning, so learning
how to sort out the issues will keep both your wallet and vehicle in good
working order.
Disclaimer: These articles are for guidance purposes only. If you have any questions regarding any matter
relating to your vehicle we would recommend that you seek the advice of an appropriate professional.
We accept no responsibility or liability should you suffer financial or personal damages in
relation to the advice stated on this website.