
A bad clutch may result from poor habits in hilly or heavily congested areas. But it’s also one of those parts with a limited lifespan that won’t last forever. If you notice that your clutch is slipping, what other kinds of problems are symptomatic of deeper issues? In this article, we’ll look at some of the most common telltale signs that the part is on its way out and if you need a replacement clutch.
For most drivers, a trip to your local mechanic is the preferred and safest option. However, if you have strong mechanical experience, you can replace it yourself. We’ve got a practical step-by-step guide to doing just that.
Signs your clutch may be failing
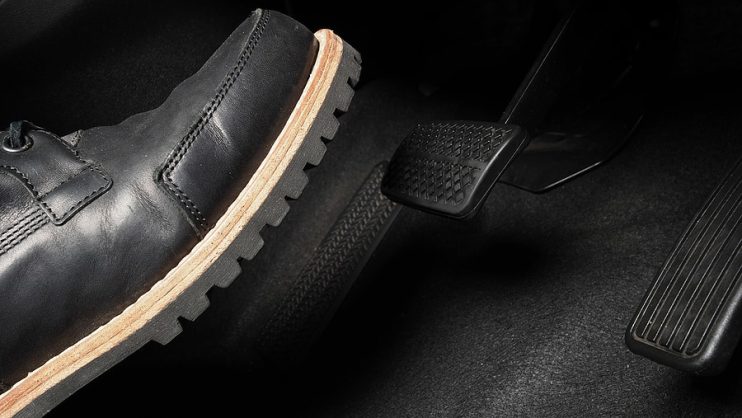
1. Spongy or soft clutch pedal
Often, the first sign of doom is a soft or spongy clutch pedal, one of the typical problems that come with a hydraulic release mechanism. It usually happens when air gets into the line or when a hydraulic component starts to fail. If the pedal feels lighter than usual or sinks easily, your clutch might not be fully disengaging.
What to check for:
- Air in the hydraulic system
- Damp spots or drips from the slave or master cylinder
- Pipes that look cracked, tired or wet
- A pedal that sinks to the floor with little resistance
- Your clutch biting earlier than it usually does
2. Burning smell when changing gear
Can you smell burning? Could it be leaking oil or damaged wiring in the car? If you’re sure the odour isn’t coming from another system and it becomes more pronounced when you shift gears, there could be a problem with the clutch. The friction of a slipping clutch usually creates this smell. If it’s accompanied by a rattling sound when the clutch is not in use, which increases in volume when the clutch engages, then you know that you might be looking at replacing your clutch soon.
It could be caused by:
- The friction material wearing down and losing grip
- Oil getting onto the clutch from a leaking seal
- Heat building up between the disc and the flywheel
3. Difficulty changing gears
You know your gear shifts should be smooth, seamless, and trouble-free. If it’s become a bit more of a grind, then your clutch could be in trouble. You might notice problems more when you’re shifting from first to second or putting the car in reverse.
Look out for:
- A bit of grinding when shifting from first to second
- Reverse feeling stubborn or refusing to slot in
- Gear changes that are stiff or slow
You need to put more pressure on the pedal than usual
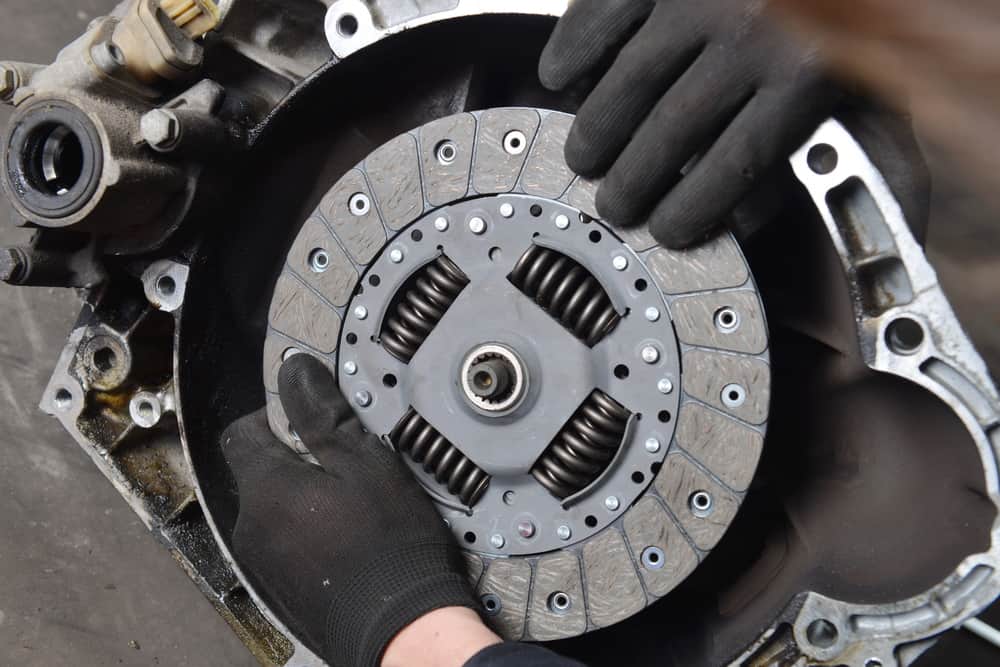
5. Visible clutch dust or damage
Remove the inspection cover on the bell housing to make the clutch visible, or take a look through the inspection cover at the bottom of the bell housing. Excess dust or damage around the clutch area usually means it’s getting tired. Catching it early can save you hassle (and money) later.
Look for:
- A fine layer of black clutch dust
- Any cracking, scoring or uneven marks on the pressure plate
- Heat spots or signs of contamination
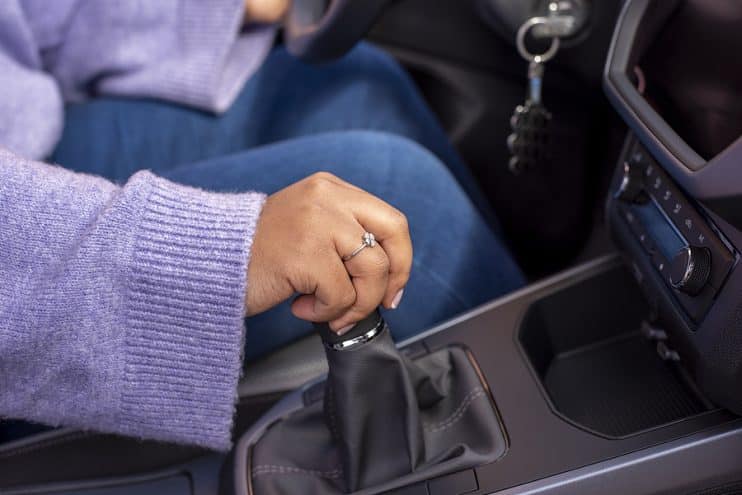
6. High RPM but low speed (slipping clutch)
One of the tricks you can use to diagnose clutch problems in a manual transmission comes when you hit the road. If your engine needs an unusual level of RPMs to reach a certain speed, then the chances are your clutch or components are having issues.
A slipping clutch means the engine revs climb, but the car doesn’t respond as quickly as it should. You might notice it moire under load, for example, accelerating uphill, overtaking or carrying passengers.
Try these tests:
- On the road: The revs shoot up noticeably before the speed catches up
- First-to-fifth test: The engine revs freely, but the car barely moves
- In a car park:
- Pick second or third from a standstill
- Lift the clutch slowly
- If the car doesn’t stall, the clutch is slipping
7. Hesitation when accelerating
Does your car hesitate before accelerating? If this is the case, the clutch may not be delivering enough boost to power the wheels through the transmission. This problem will become more prominent when pulling a trailer or a caravan, and you’ll feel that you aren’t quite getting the power you need.
Common signs:
- A slight delay between pressing the accelerator and the car responding
- The issue getting worse when towing or fully loaded
- Revs rising quicker than the speedometer
8. Gear grinding
Although this isn’t necessarily a problem with your clutch, gear grinding isn’t good. It could be related to the synchronisers, which ensure smooth gear shifts. When they fail, it can feel like the clutch does not affect the shift. And on occasion, you may not have properly engaged the clutch.
But it could still mean your clutch is indeed wearing out. Often, urban start-stop driving can wear it out faster, alongside high mileage.
Watch out for:
- Grinding even when you’re sure you’ve pressed the pedal fully
- Gears that resist engagement or feel awkward
- The noise improving briefly if you pump the pedal
- More grinding when doing low-speed manoeuvres
What’s the average lifespan of a clutch?
Most clutches last 50,000 to 100,000 miles, but this varies a lot depending on your driving style and environment. City traffic, hill starts, and towing will wear a clutch much faster. Smooth, steady driving and avoiding “riding” the clutch can help it last longer.
Why is clutch replacement so expensive?
Clutch replacement is costly mainly because of the labour involved. The gearbox needs to come out to reach the clutch, which means lots of disassembly in tight spaces. The parts themselves aren’t usually what drive the price up – it’s the labour costs involved.
Reasons for the increased labour costs include:
- Removing engine mounts and lowering the gearbox
- Working in cramped, awkward areas
- Extra repairs that may crop up (flywheel, seals, hydraulics)
- Clutch kit prices varying depending on the vehicle
Is it safe to drive with a bad clutch?
While it’s possible to drive with mild clutch wear, it’s not ideal. A worn clutch can fail suddenly, leaving you unable to change gear safely. Slipping can also overheat and damage the flywheel, adding even more costs later on.
Risks include:
- A sudden loss of drive
- Not being able to select gears at a junction
- Increased risk of breaking down
- Overheating and extra wear on clutch components
Can you replace a clutch yourself?
You can replace a clutch at home if you’ve got solid mechanical experience and the right tools. It’s a big job, though, and does require lifting equipment and confidence working with major drivetrain parts. For most people, paying a professional is the safest choice.
But if you fancy your chances, you will need:
- A flat, secure working area
- Jacks and axle stands
- A decent socket set and torque wrench
- A clutch alignment tool
- Confidence working around heavy components
How to replace a clutch safely (step-by-step)
1. Before you start, prepare your vehicle
Before you start, make sure the car is safe, stable and properly supported. You’ll also need to support the engine so you can remove the gearbox without putting strain on anything.
Steps:
- Park on level ground and secure the car
- Lift the front and support it with axle stands
- Support the engine using a jack under the oil pan
- Remove the engine mount
- Get ready to unbolt and lower the gearbox
2. Remove the old clutch
Once the gearbox is unbolted, you can gently slide it back to reveal the clutch assembly. Take your time here – the input shaft needs to clear the pressure plate smoothly.
Steps:
- Remove the bolts around the flywheel housing
- Ease the gearbox away from the engine
- Make sure the input shaft clears the clutch
- Remove the pressure plate bolts
- Lift off the pressure plate and clutch disc
3. Inspect and clean
Before fitting the new clutch, everything around it needs a sound check. A worn flywheel or leaking seal can undo all your hard work.
Check and clean:
- The flywheel for heat marks, cracks or scoring
- The gearbox input shaft for any leaks
- Flywheel or crank seals
- The crankshaft flange
4. Install the new clutch
Fitting the new clutch means carefully aligning the disc and pressure plate before refitting the gearbox. Good alignment makes all the difference to smooth gear changes later.
Steps:
- Fit the new clutch disc and pressure plate
- Attach the new release bearing to the fork
- Guide the transmission back into position
- Slide the input shaft through the clutch disc
- Refit all bolts and mounts
- Torque everything to spec
5. Replace or adjust the clutch cable
This is a good moment to replace the clutch cable, as everything is already accessible. If you’re keeping the old one, you’ll need to adjust it so the pedal feels right.
Do the following:
- Replace the cable if you can
- Adjust the free play if keeping the old one
- Check that the self-adjusting mechanism is working
- Make sure the slave cylinder moves smoothly
And Finally
If you notice any of these warning signs that your clutch may be on its way out, please do not worry. This is a common occurrence in the lifespan of owning a car with a manual transmission and is easy enough to fix, but also something that you should take care of when you first notice a problem. Having a well-maintained clutch makes driving and handling so much easier and gives you a much better level of control. Catching problems early will also save you money, costing you a whole lot less to fix.


