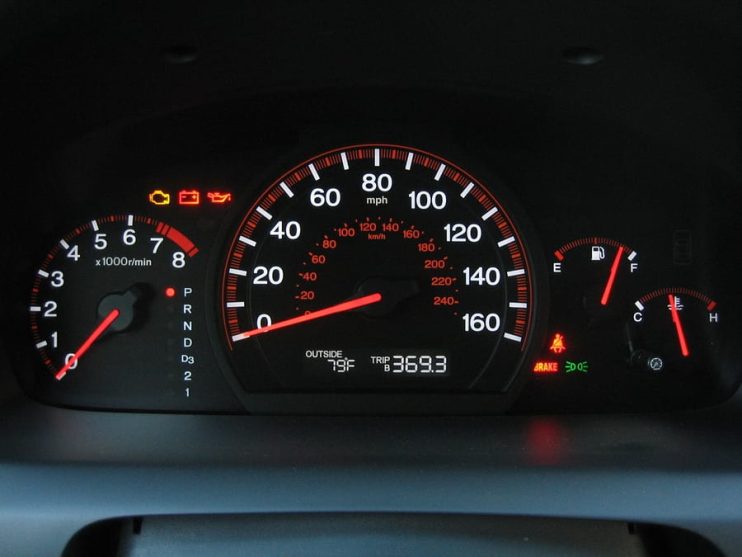
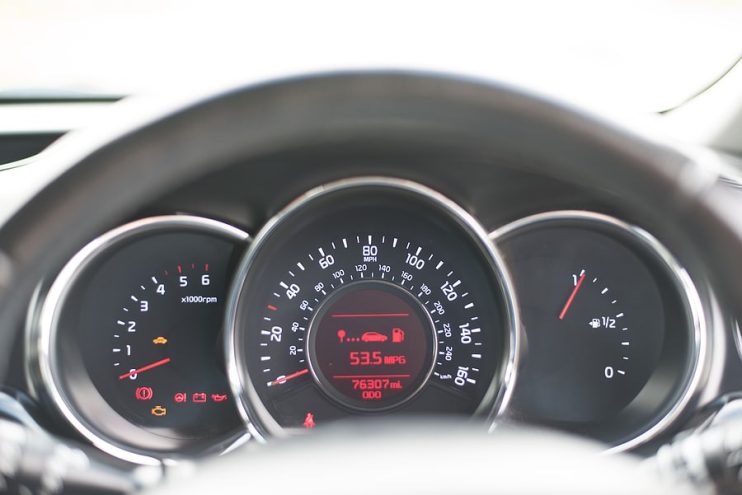
Your instrument cluster is the part of the dashboard that tells you what’s going on with your vehicle’s internal systems. It contains the speedometer, the rev counter and all the lights and status displays that warn you of problems such as low fuel and battery charge issues.
Every instrument cluster has a lifespan and will eventually wear out. It’s quite a simple problem to spot as the speedometer and other dials and gauges will stop moving and lights will not function, such as the full beam warning or the hazard indicator. Do of course bear in mind that if it’s only a bulb that’s blown, you may be able to replace certain bulbs in certain positions and then you won’t need to replace the whole cluster.
Changing the instrument cluster is a relatively easy process and can be attempted by anyone who is familiar with a basic set of tools. There are a few things that can go wrong but the steps are still considered simple by most mechanics. Put aside roughly an hour to an hour and a half for this job.
You will need: Socket set
Step 1 – Set up the vehicle
Place your vehicle on a piece of level ground and make sure that the handbrake is engaged. There may be a set of specific instructions that you need to initiate to ensure that the section of the dash that contains the cluster can be removed. In some vehicles this requires you to place the car into a certain gear or put the car’s steering into a certain position.
Step 2 – Pull off the dashboard
Gently remove the instrument cluster surround section of the dash panel out of its seating whilst removing the clips that hold it in place. Carefully put it to one side and examine the instrument cluster. There should be a number of bolts fixing it to the car at key points around the part.
Step 3 – Remove the instrument cluster
Next you’ll need to unbolt the instrument cluster using your socket set from its position in the dashboard. Pull the cluster towards you and examine the part for the wiring harness that carries all the information to the unit. When you have found this connector, unplug it using the docking clips on the connection bay.
Step 4 – Replace the instrument cluster
Compare the old cluster to the new cluster to check you have the right part for your make and model of car. All the connections and wiring spots need to match up exactly. When you are satisfied that the parts are the same, reattach the wiring harness and bolt the instrument cluster back in place. Finally put the dashboard bezel back onto the car, taking care to ease the clips back onto the part.
Checking that the new instrument cluster is functioning properly should be a fairly easy task. All you need to do is start the engine and check that the correct lights are illuminated before taking the car for a short test drive. If the cluster isn’t working properly then work through the steps to access the part and check all the connections are in place.
Disclaimer: These articles are for guidance purposes only. If you have any questions regarding any matter
relating to your vehicle we would recommend that you seek the advice of an appropriate professional.
We accept no responsibility or liability should you suffer financial or personal damages in
relation to the advice stated on this website.