Everyone knows there’s only limited space in your car’s boot. You can only fit so much on the back seat. So when the car is completely stacked and there’s not an inch of room for packing, or alternatively for those large items like surfboards you’ll need a roof rack. In order to fit a roof rack you’ll need roof rails – but what to do if these are cracked or broken?
Replacing roof rails is a standard task and not too complex. It does pay to have a strong hand however to do up the bolts as it is essential that you have the rails securely fixed in place. You will find roof rails specifically made for your make and model of car, which should be supplied with the exact components you need to fit them in place.
You will need: socket or spanner set and a screwdriver.
Remove the Old Roof Rails
Using a socket set or spanner go along the length of your rails and remove the bolts that hold them in place. When you have successfully taken all the bolts off the rails simply pull the rail away from the car and save it for step 2.
Unpack the Kit
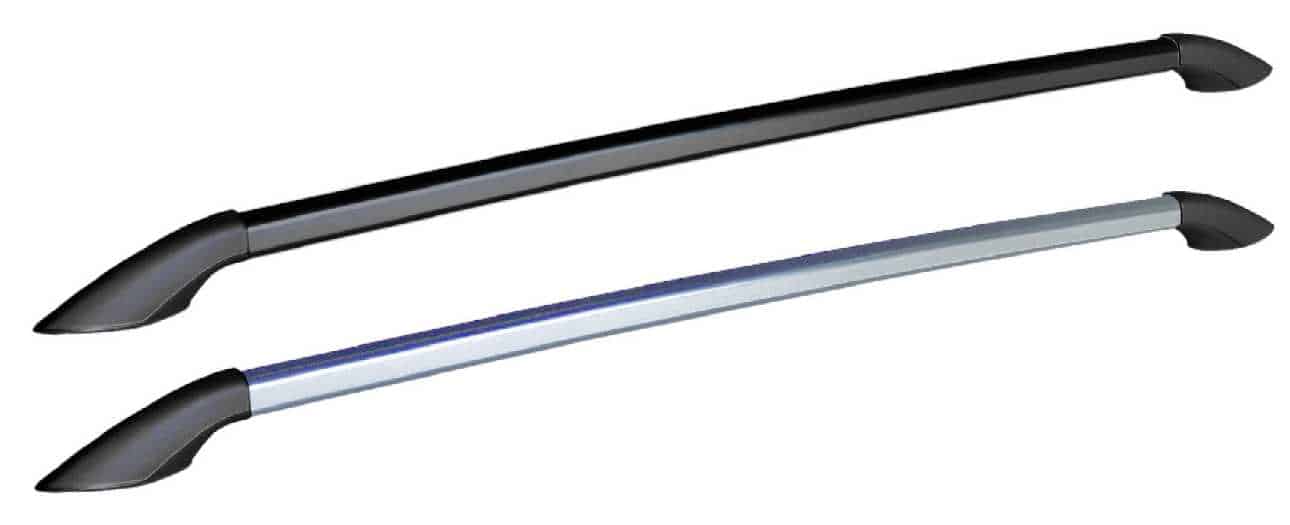
The first thing you need to do is unpack the roof rails kit and inspect all the parts to check they are all there. Compare the new rails to the old rails and inspect the fixings to make sure that these are the right part for your make and model of car.
Bolt on the Brackets
Bolt the brackets supplied in the kit onto the car so that the screws to fix the rail are facing inwards. Make sure that these are straight and aligned with one another so that they will correctly support the rail on each side of the car.
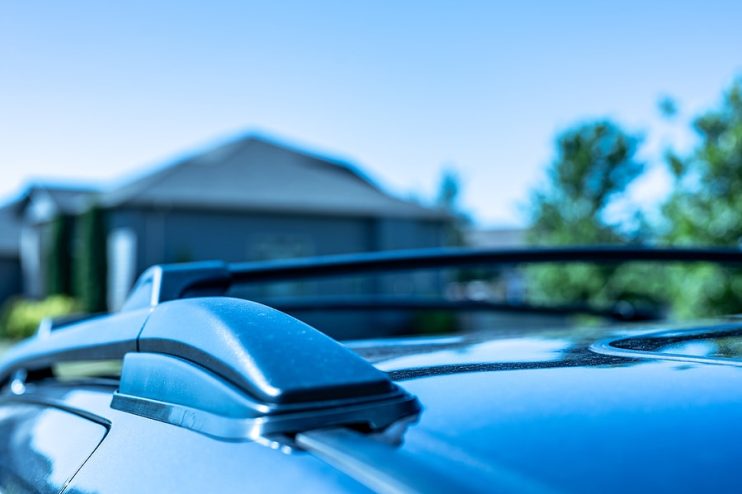
Fix on the Roof Rails
The rail should now fit on top of the brackets. It may be necessary to adjust the alignment of the brackets as you pop them into the body of the rail one by one. There is no exact method here as the construction of the rail will differ according to your make of car, but a little force should see the bracket slide into its place.
Repeat for Other Side of Car
Repeat the instructions for the other side of the car for the other roof rail. This should be slightly quicker as you will know how to fix the brackets into the rail. When you have finished the job, check by hand that the rail is firmly in place by shaking it and push it forward and backwards to check for movement.
When you have finished the job, your car should be able to support a roof rack on the rails, giving you the extra support when travelling on holiday, moving house or simply picking up some bigger items for your DIY.
Disclaimer: These articles are for guidance purposes only. If you have any questions regarding any matter
relating to your vehicle we would recommend that you seek the advice of an appropriate professional.
We accept no responsibility or liability should you suffer financial or personal damages in
relation to the advice stated on this website.