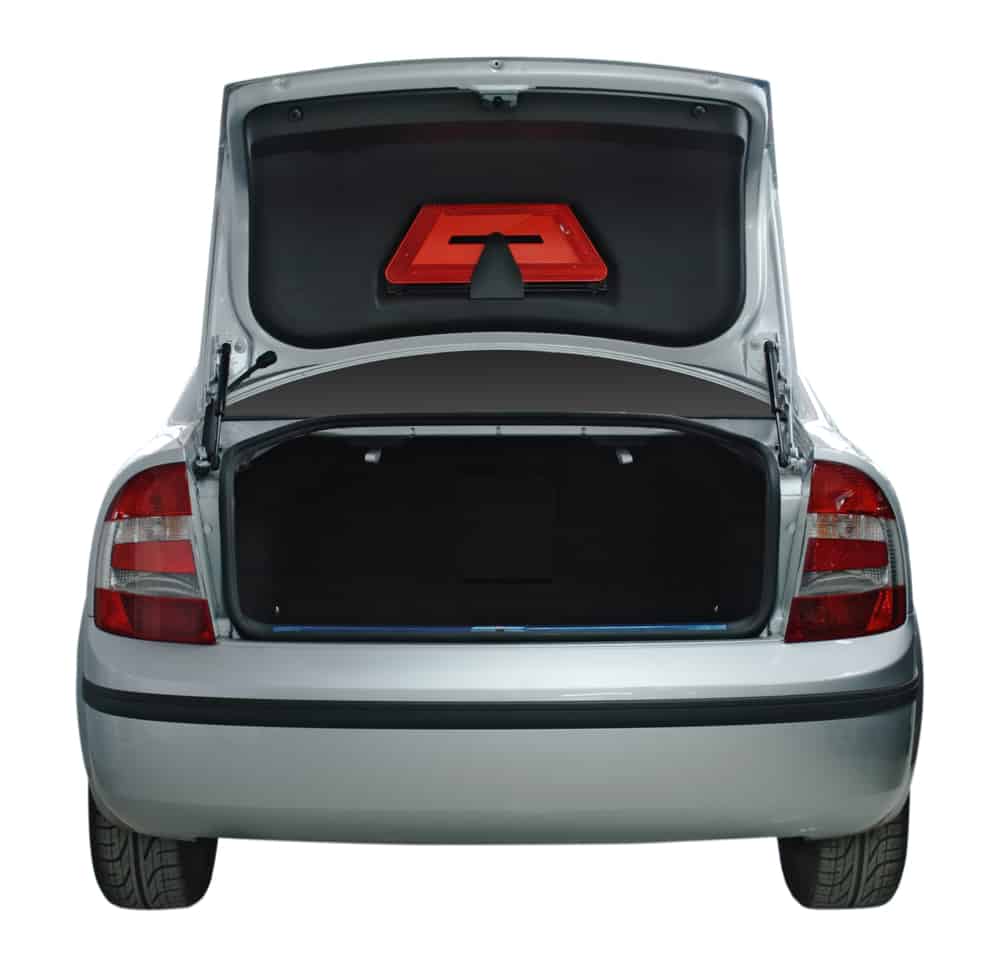
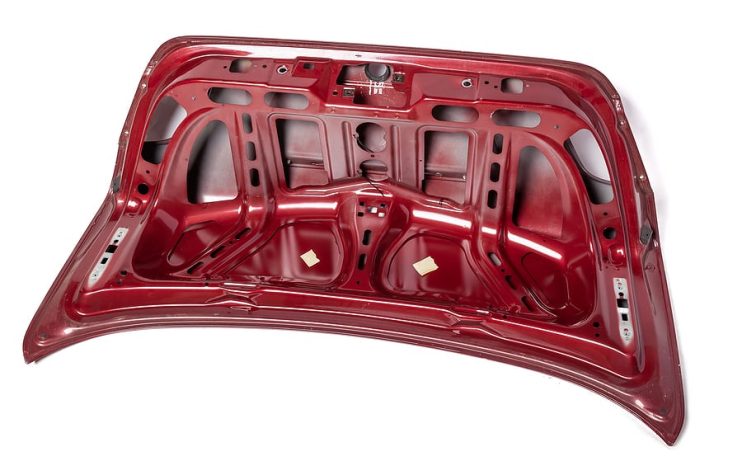
It is all too easy for your boot lid to become dented. From an accidental shunt or prang on the road through to an overzealous piece of reversing near a wall, there are plenty of opportunities for it to become damaged both on the road and when parked. Over time rust will eat away at the edges, the seals will go and wires and locks can become damaged. Often a simple visual inspect will confirm whether or not it needs changing. Purchasing a good replacement boot lid should be no problem. However lids vary across models and makes and some have lights and wiring built into their construction, whilst others are simple covers for the rear of your car. Most have hydraulic systems that can be dealt with by even a novice mechanic, however due to the weight of the part it is always good to have an assistant.
You will need: spanner, socket set, and a screwdriver
Remove the Hydraulic Cylinders
Using a spanner, remove the bolts at the top of the hydraulic cylinders that are connected to the car. When these are free, disconnect the bottom bolt holding the cylinder to the boot lid, before pushing each out of its seating with the palm of your hand.
Disconnect Wiring
Follow any wires that are running from the inside of the car into the boot lid. These should be plugged into the electrical systems and should be relatively easy to remove. There may even be one universal plug that controls all connections. When this is disconnected leave the loose plug in the body of the car.
Detach Boot Lid
Remove the bolts on either side of the boot lid hinges. It may be the case that the boot hinges are fairly difficult to access, requiring you to lean into the boot. A good idea is to get someone to hold the boot lid as you complete this part of the removal process as the lid is heavy and could swing about. When you have remove one hinge, remove the hinge on the opposite side.
Carefully Lift Out Boot Lid
With the assistance of another person, slowly lift the boot lid out of its seating in the car and bring it carefully down to the ground. You may want to use this opportunity to clean out any dirt from around the sill and seal in your car.
Bolt in New Boot Lid
Next lift the next boot lid in place and with your assistant holding it in place, bolt the hinges back in place. When this is complete add the cylinders and check the movement of the boot lid. It may be the case that you need to put a little lubricant on the hinges to ensure smooth movement.
Re-Wire Electrical Systems
Finally put the electrical connectors back in place and take care that they are firmly fixed. When this part of the job is complete, turn on the car’s systems and check that all the lights are working as expected.
When you have finished the job, open and shut the boot lid a few times with the lever in the front of the car that controls the operation. Make sure that the operation is smooth and that the lid locks in place, and then you should be ready for the road.
Disclaimer: These articles are for guidance purposes only. If you have any questions regarding any matter
relating to your vehicle we would recommend that you seek the advice of an appropriate professional.
We accept no responsibility or liability should you suffer financial or personal damages in
relation to the advice stated on this website.