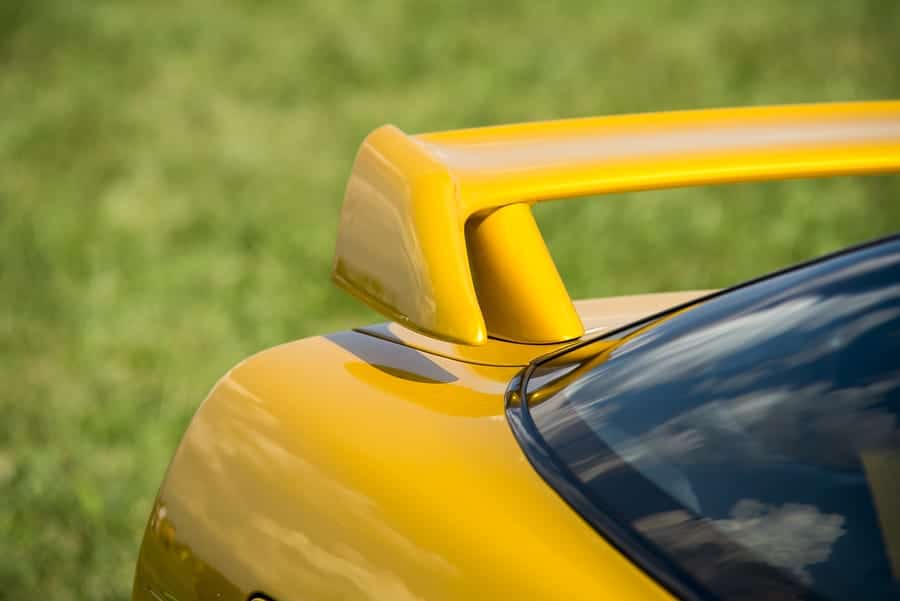
Your car’s spoiler is designed to create drag and push the rear wheels of the car into the road. This improves traction and helps your vehicle hug the tarmac as you move up to higher speeds on the dual carriageway or motorway.
If you’re a fan of taking a car round a test track to see how fast you can go – then a spoiler is an essential piece of kit. However, at the limited speeds on UK roads this part is more about decoration than function.
Fitting a spoiler to your car is one of the more simple jobs as it does not require any large degree of mechanical or electrical knowledge, and the part should be supplied in a very specific kit for your exact make, model and version of car. If you are a novice mechanic looking to boost your confidence and experience, this is a great place to start.
You will need: electrical drill, correctly sized drill bit, centre punch
Preparation
Open the boot of your car and look underneath the main section. You will probably find an upholstered board of some kind here, which you will need to remove before progressing with the job. This will expose the framework of the boot.
Fixing the Position of the Spoiler
There should be two alignment tabs that allow you to fix the spoiler in its seating. Make sure that the centring hole is inside each of the fastener openings – this is vital in order to make sure that the fixing holes you’ll drill later are in the right location. Once the spoiler is in place, turn it over and steady it in its mounting position in the centre of your boot door. Finally tap down the alignment tabs so that they stick to the framework of the boot.
Mark the Position
Gently pull the spoiler away from the boot of your car so that the alignment tabs stay firmly fixed in place. Now using a score marker or a centre punch, make some indents in the car’s bodywork that you will use as a reference point when you’re drilling later. Make sure that you go all the way through the alignment tab and mark the metal underneath.
Drill the Fixing Holes
Find a drill bit that matches the size of the fixing bolt for your spoiler kit. Put this in the electrical drill and bore out the holes you’ve marked in the bodywork of the boot. When you have finished use a piece of emery cloth to ensure there are no small threads of metal left in the hole.
Attach the Spoiler
And now the final step. Simply use the screw holes to attach the spoiler to the car, using the bolts or screws supplied with the kit. Make sure they are as tight as possible and when you have finished give the spoiler a gentle push and pull to make sure that it is fixed firmly in place.
When you have finished the job, as with all mechanical and fixing work you will want to take your car for a test drive. However, the spoiler should already be securely bolted to your vehicle. From time to time you may wish to check with a quick but gentle push on the spoiler to check it is firmly in place.
Disclaimer: These articles are for guidance purposes only. If you have any questions regarding any matter
relating to your vehicle we would recommend that you seek the advice of an appropriate professional.
We accept no responsibility or liability should you suffer financial or personal damages in
relation to the advice stated on this website.