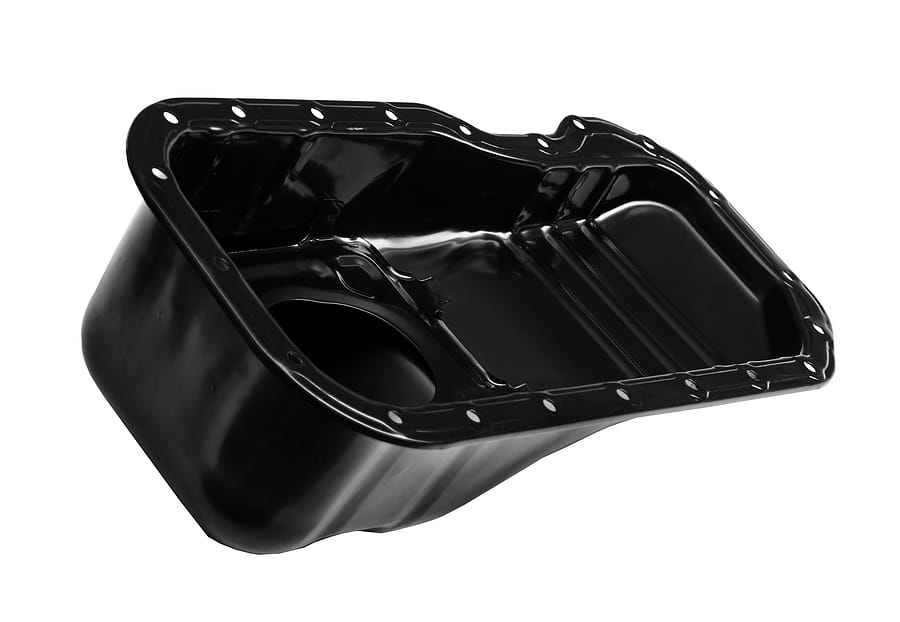
The oil sump is the part of your car that holds the oil for the engine. It’s that simple. You’ll notice that the sump is suffering from damage by one major tell-tale sign. Spots of oil will appear on the ground on which your vehicle has been parked. Over time these could even build up in your regular parking space as one large patch of oil.
The bigger the problem with the sump, the larger the oil patch. Fortunately changing the oil sump is a fairly simple task that doesn’t require too many complex mechanical gymnastics. Due to the large volume of oil involved with the changeover the main thing you’ll need is sufficient time to complete the task. Even though this is a simple operation it can become reasonably drawn out.
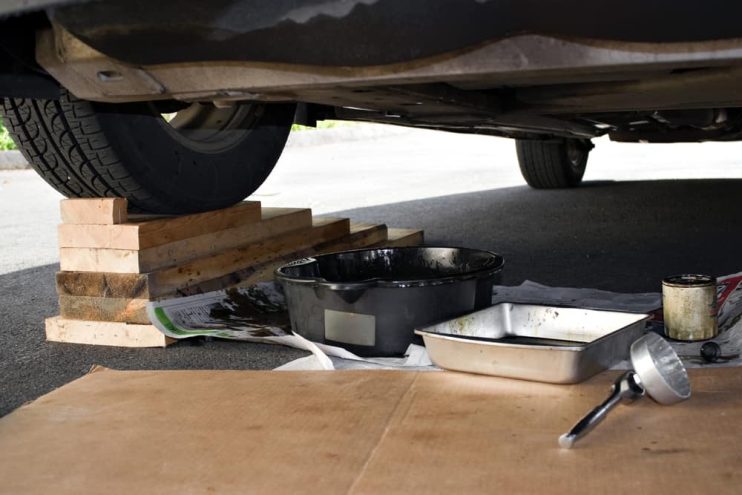
You will need: car jack, jack stands, oil pan, socket set, wrench, and cloth
Access the Oil Sump
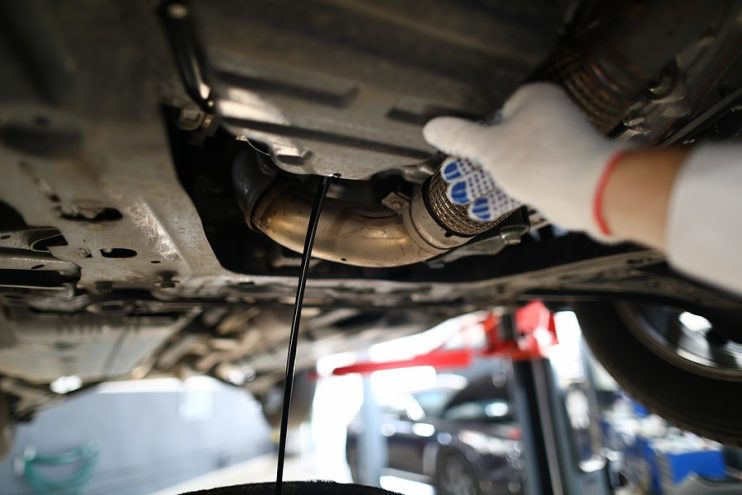
Start by jacking up the vehicle and then replace the jack with locking safety struts. Next place a large container pan beneath the oil sump to contain the oil flow that will occur when you pull out the plug. Remove the plug and leave for enough time for the oil to completely drain out of the sump, before disposing of it at a council approved site.
Detach the Oil Filter
You’ll now need to remove the oil filter by detaching it carefully from the engine block, using specialist grips to hold on to the filter if it is too tight. Most manufacturers will recommend that you change both the oil filter and the oil at the same time, so it is usually safe to discard the old part and replace with a new one whilst changing the sump.
Remove the Existing Sump
Next locate the bolts holding the oil sump to the bottom and use a spanner or socket set to remove them. Finally free the sump from its seating. This may be a little difficult, but any resistance in movement can be overcome by a good push or a gentle tap with a hammer. When you have taken the old part away from the car compare it to the new part to confirm that all the mounting holes are in the same places.
Clean Connective Surfaces
Once you have removed the old part, carefully check all the points of connection to ensure that the seal is completely intact. Using a cloth then slowly and methodically clean along all the contact points so that the new oil sump will sit firmly in place without leaking.
Fitting the New Oil Sump
Apply a silicon sealant around the new replacement oil sump and the connection points on the car. Next carefully ease the sump into place making sure that all the bolt holes line up before loosely placing the screws in place. Remember to tighten them to the correct extent, so that they hold the part securely in place.
Connect the New Oil Filter and Sump Plug
The next step is to carefully screw the new sump plug into place. Sometimes the new part will not come with a replacement plug, so in this instance you will have to use the old plug. When this is firmly stuck into the sump the next step is to replace the oil filter. This should be a simple task, requiring you to screw the filter in by hand until it is held tightly in place.
A Final Check
When you are satisfied that the new sump is safely in place the final step is to refill the car with oil and check the levels using the dipstick. After you’ve let the car down off the jack start the engine and then look under the car to make sure there are no leaks around the edge of the sump. You’re then ready to get the car back on the road.
Disclaimer: These articles are for guidance purposes only. If you have any questions regarding any matter
relating to your vehicle we would recommend that you seek the advice of an appropriate professional.
We accept no responsibility or liability should you suffer financial or personal damages in
relation to the advice stated on this website.