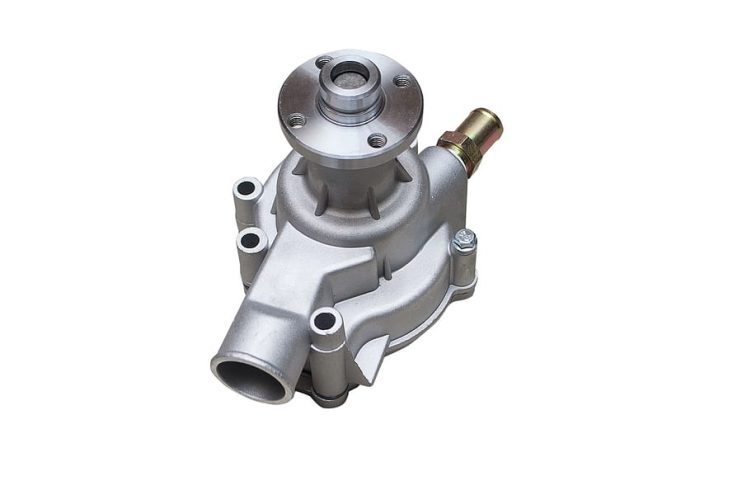
Your car’s water pump performs an obvious yet essential function. There are a number of signs that can indicate that this part is on its way out. If you suspect your water pump is faulty then a piece of cardboard under the engine at night may well show up giveaway drip marks. Similarly a loose pulley around the water pump or a low pitched grinding noise are both symptoms of a faulty pump.
Beyond the engine, your car will pick up a faulty water pump and display signs such as the low coolant light or a problematic engine temperature, both of which point to an overheating issue due to the lack of cooling fluid in the engine. The more of these signs, the more likely you need a replacement water pump. Fortunately this is not the most complex job and can be completed by anyone with a modicum of mechanical knowledge.
You will need: Screwdriver, pressure test gauge, scraper, needle point pliers.
Test the Water Pressure
With the car at rest, open the bonnet and locate and remove your car’s radiator cap. Use the pressure tester to apply the appropriate level of pressure. This should be indicated in your owner’s manual.
Inspect the Water Pump
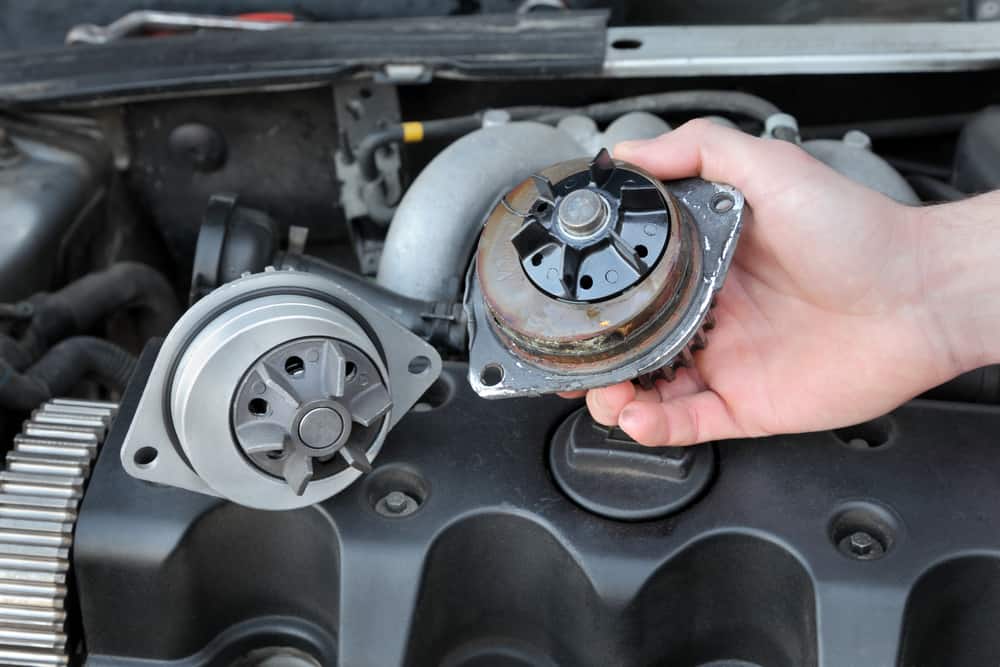
When you have found the required pressure, this will then show up any problems in your car’s cooling system. Take a look around the water pump and check for any small drips or runs of water coming away from the part. If you find any of these symptoms then you should go ahead and replace the part.
Drain the Radiator
Much like when you drain the oil sump of a car, you’ll want to use a flat pan placed underneath the radiator to remove the water from the cooling system. Use either the lower radiator valve or unplug the hose and drain the water from your engine.
Disconnect Belts and Hoses
Next you should detach the drive belt or the serpentine belt from the water pump along with any hoses connected to the part. This should leave the part in such a state as to now allow you to completely unbolt it from the engine.
Clean the Mounting Surface
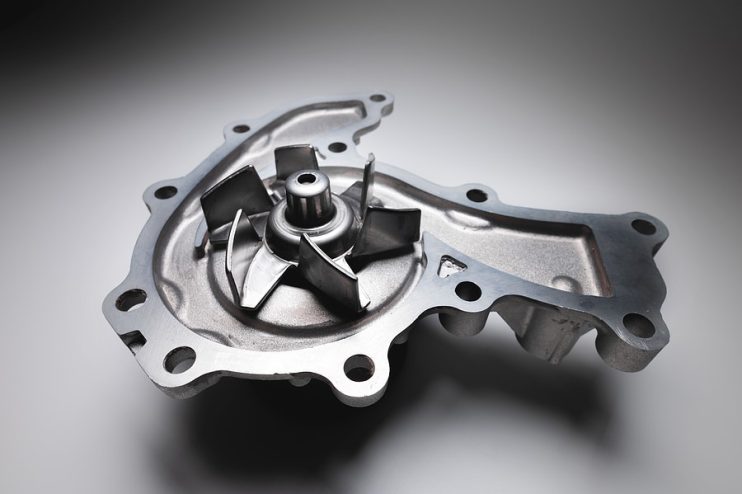
Using your scraper, now clean off the old seal from round the mounting surface where the water pump is held in place next to the engine. Install a new seal and attach the new water pump in place using the old bolts. Tighten the bolts to the level stated in your owner’s manual.
Reconnect Belts and Hoses
Next you should carefully reconnect all the hoses in place on the water pump and check that all the clamps that hold them in place are sufficiently tight. When you are satisfied, replace the drain plug on the radiator or the lower radiator hose, depending on how you emptied out the car’s coolant system.
Refill the Coolant System
Now you’ll need to add liquid back to your car’s coolant system, which you took out in the first steps. Use a mixture of 50% coolant and 50% water and add to the radiator. When full use the pressure gauge to check for leaks once again. If there are no leaks fill the overflow reservoir and start your car. This will allow the coolant to be pumped into the engine and you can now finish topping up the coolant system. Finally, when you are happy with the levels of fluid replace the radiator cap.
Disclaimer: These articles are for guidance purposes only. If you have any questions regarding any matter
relating to your vehicle we would recommend that you seek the advice of an appropriate professional.
We accept no responsibility or liability should you suffer financial or personal damages in
relation to the advice stated on this website.