During your car’s lifetime there’s a good chance you might have to replace the door. Perhaps there’s too much rust damage or it has become dented in an accident or scrape. It is usually pretty obvious when your car needs replacing and you should be able to come across a spare or replacement part quite easily for common makes and models of vehicle.
Fortunately this is one of the more easy jobs around the car that doesn’t require a City and Guilds in Car Mechanic skills, only needing you to have a basic tool set.
You will need: spanner set, socket set, thread locking fluid.
Check Your Part
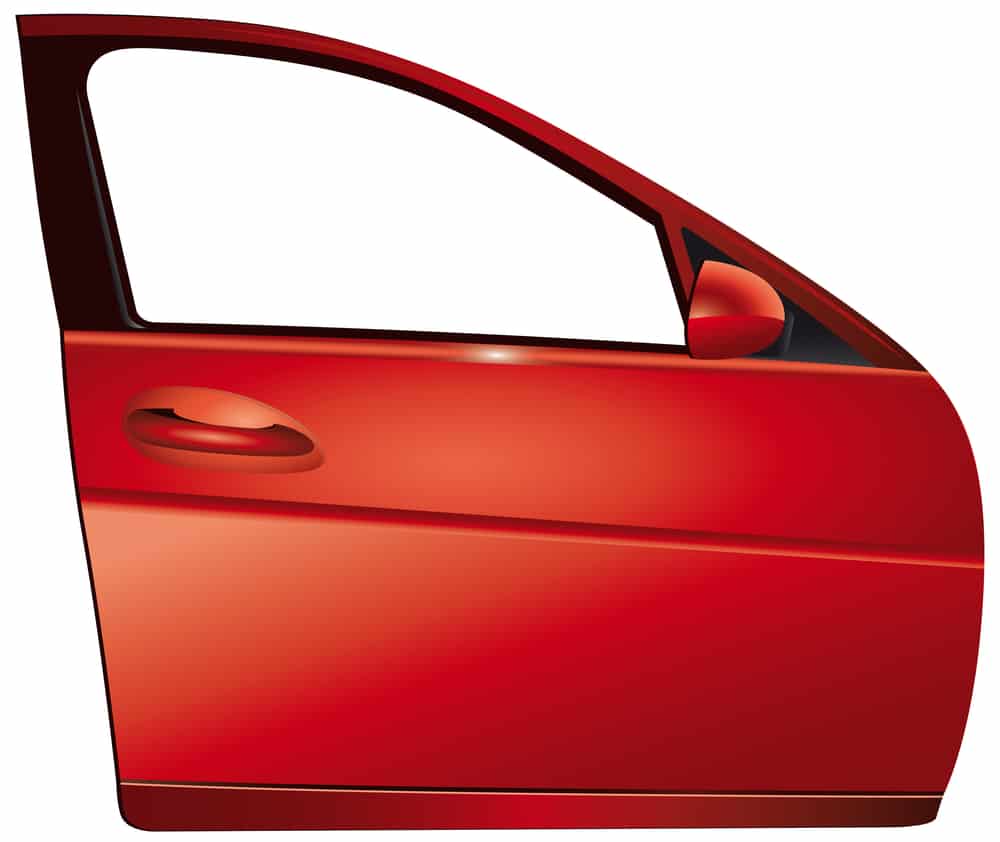
When you have purchased your replacement door, make sure that it is the same shape and size as the old part. There can be nothing more frustrating than discovering that you have ordered a part for a very similar model by the same manufacturer that doesn’t quite match up with your vehicle.
Remove Vehicular Wiring
Once you have parked the car on smooth, flat ground and ensured that the handbrake is fully engaged then it’s time to start on the replacement work. First tackle the wiring, which is usually contained in a rubber tube to protect it from corrosion and water damage. Pull the rubber tube out of its seating until you reveal an electric connector. Pull this apart and detach the two halves of the wiring,
Unbolt the Hinges and Door Holder
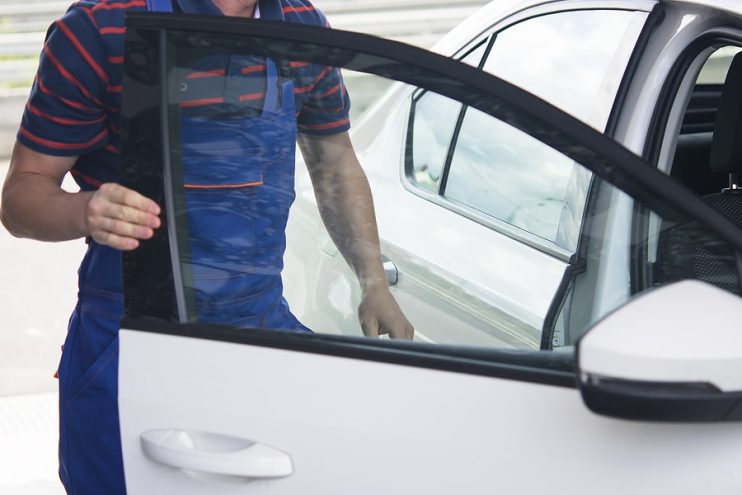
Next step is to remove the door holder, which is a small plastic stick that helps the door stay in place and not simply swing shut. When this is out of the way you’re free to move onto unbolting the hinges. You may wish to use an assistant to hold onto the door here, as once these bolts are out of place you can detach the car door fully from the car.
Attach the New Door
Next it’s time to line up the new door. Make sure that all the bolt holes line up and then start to replace them one by one. It is usually easier to simply apply the bolts in the first instance with your fingers and then finish tightening them up with a spanner. When these are sufficiently tight replace the door holder.
Complete the Wiring
Now slide the rubber protector onto the wiring and clip the connectors back into place. This should allow you to now finish the installation work and you can turn on the car to test the electrics. When you are satisfied that the door mirrors and electrical windows are working it’s time to place some thread locking fluid on the bolts to make sure they stay well fixed in place and don’t become loose over time.
When you have finished the work, simply check that the car door opens and shuts properly and when you take the car for a short test drive, be aware of knocking and vibrations that could indicate something is not quite in the right place.
Disclaimer: These articles are for guidance purposes only. If you have any questions regarding any matter
relating to your vehicle we would recommend that you seek the advice of an appropriate professional.
We accept no responsibility or liability should you suffer financial or personal damages in
relation to the advice stated on this website.