Possibly the most common type of repair that you may be required to perform on your lights is the replacement of a headlight. Often the bulb will burn out, or you may experience a crack in the part caused by loose shingle that has kicked up and hit the lens, causing cracking and reducing the effectiveness of your headlight. In these cases you’ll need to check with your owners manual to find out what kind of headlights feature on your car – these can be one of three types – sealed beam, sealed halogen or composite, and replace it in accordance with our instructions.
Table of contents:
- Replacement of Sealed Beam lights
- Composite Light Replacement
- Aiming of Front Lights
- Rear Light Assemblies
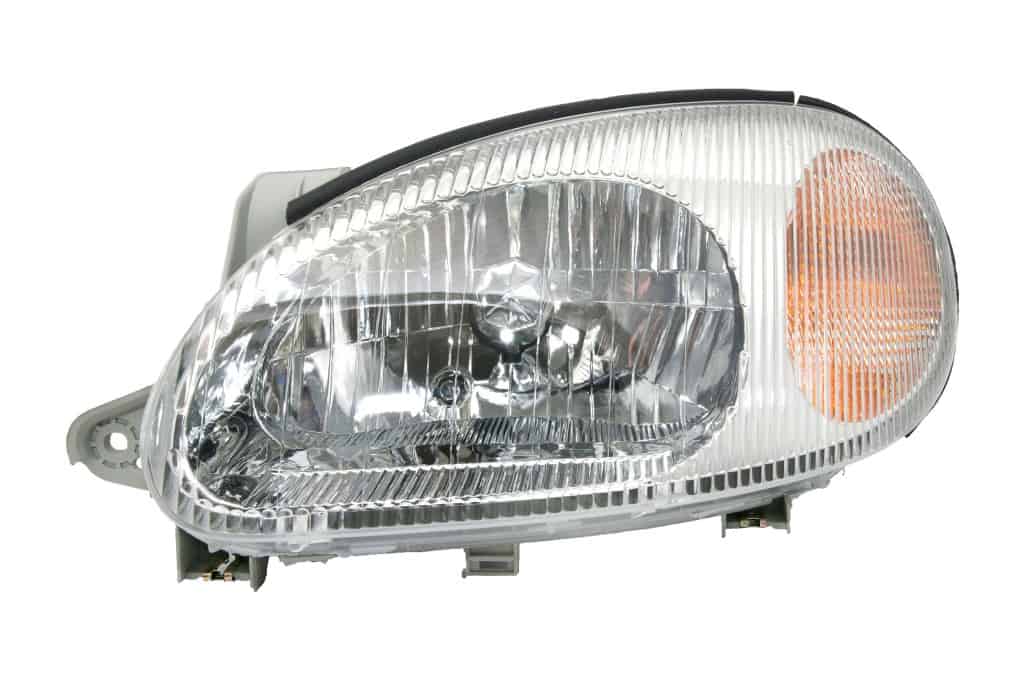
Replacement of Sealed Beam lights
Both sealed beam and halogen sealed beam headlights are replaced in the same manner. As this part comes as one unit, it is fairly simply to swap it out. This can be done by most people with a modicum of mechanical knowledge, and a little patience to ensure that the job has been completed in the right manner. However, you will need to make sure that you are using the same kind of light as was previously installed on the car – avoid swapping sealed beam and halogen sealed beam units as they usually require different power loads, effecting the luminescence of the bulb.
- Remove any bezel that sits as a retaining trim around the body of the headlight. Also remove any retaining screws from the part, but be careful not to touch or turn the two headlight aiming adjustment screws.
- Remove the headlight slowly and carefully from the shell assembly, paying attention to the location and the threading of any wires that are extended when you remove the unit.
- Disconnect the wire connector from the rear of the lamp and check for any corrosion, dirt or dust. Where appropriate clean this as needed using fine sandpaper or emery cloth.
- Obtain the replacement headlight and coat the connector terminals and prongs with dielectric grease to prevent these from corroding over time in wet conditions. Then attach the wire connectors to these prongs, and carefully place the new unit into the correct space in the car.
- Replace the retaining screws and trim. Make sure that the new unit is correctly in place and the right way up. The headlight should be marked with a number or the word “top” allowing you to ensure that you have it placed in the required alignment. When you’re satisfied with the fit of the headlight, check the operation of the part via the car’s dashboard.
If you’re finding that you need to regularly replace your car’s headlights then you may well be looking at a problem with the charging system. If too much power is supplied to the bulb then this may well burn the filament out prematurely.
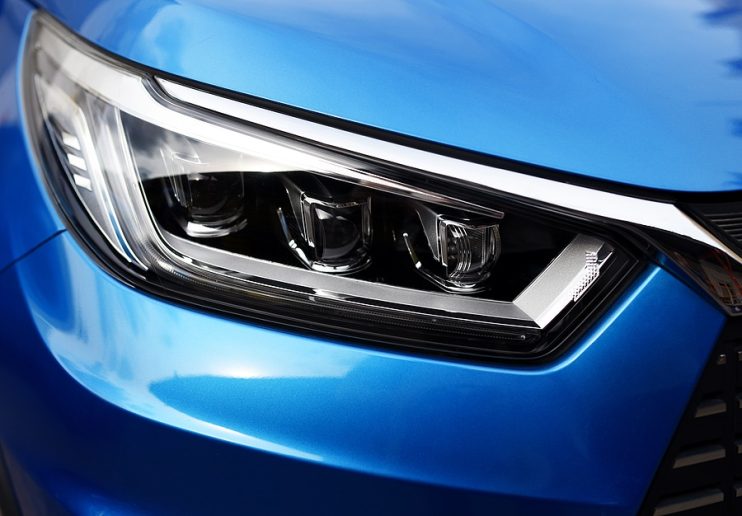
Composite light Replacement
A composite headlight is one that’s made up of different parts, allowing you to change the part that’s problematic. If you need to change the outer casing then do so in the same manner as suggested in the method for the sealed beam. However, if you need to change the bulb, or if you need to put the old bulb into a new headlight casing then this is the procedure:
- Remove the headlight from its seating in the car. It may be held in place by a number of connecting bolts or a more simple tongue, groove and clip system that keeps it locked onto the bodywork. When removing this part pay attention to the threading of any wires and place any bolts into a safe place so they can be found when it’s time to reattach it to the car.
- Carefully remove the wire connector from the from the bulb and take it out of its seating by first removing the retaining ring. The bulb is usually held in place by a clip system that requires you to rotate it slightly to remove it. Be careful not to use undue force pulling the bulb out of its seating as this can damage the clips that hold it in place.
- Check the wire connectors for any kind of dirt or corrosion. If you find this on the metal clips, you can usually clean it off using a piece of emery cloth or fine sandpaper, allowing you to restore the metal to a good condition. When this is done, coat the connectors with dielectric grease to protect them from moisture and corrosion damage in the future.
- Carefully insert the new bulb into the seating and rotate it gently so that it clips in place. Replace the retaining ring that you removed in the first step of these instructions and then lock it into the socket. Reconnect the wire connector to the bulb, which should snap into place. Put the headlight back into its seating and reattach to the car.
- Finally, test the headlight to ensure that it is working properly by trying out all the beam settings on your dash. Check the aiming as described below and make any appropriate adjustments.
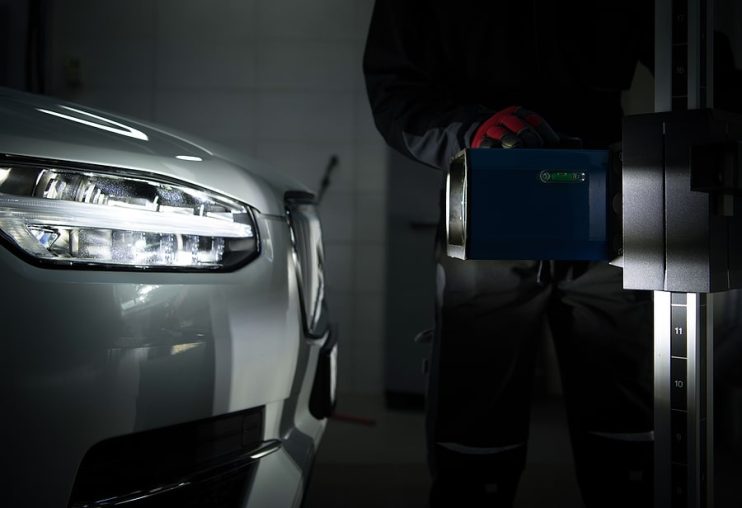
Aiming of Front Lights
If your headlights are incorrectly aimed then it’s possible for your car to fail its MOT. The government have put strict regulations in place controlling the positioning of vehicular lights, and all beams should be made to dip to the left slightly. The best way to check the aiming of your headlights is to drive the car so that the front of it sits approximately 6 metres (around 25 ft) away from a wall. Turn its lights on and note where the beams hit the wall – you may find this easier to do in the dark. Then go through the following tests:
- Check that the beam from the newly replaced headlight is at the same height as the original light. If this is not the case then you can use the adjustment screw on the light to correct any difference.
- Do both the lights respond in the right manner to the dashboard light controls? Turn the car onto it’s full beam setting and check that both beams respond in the same manner.
- Finally, in accordance with the UK’s Road Vehicle Lighting Regulations, both beams should dip to the left slightly. If this isn’t the case then you may need to have your beams professionally adjusted at a service centre.
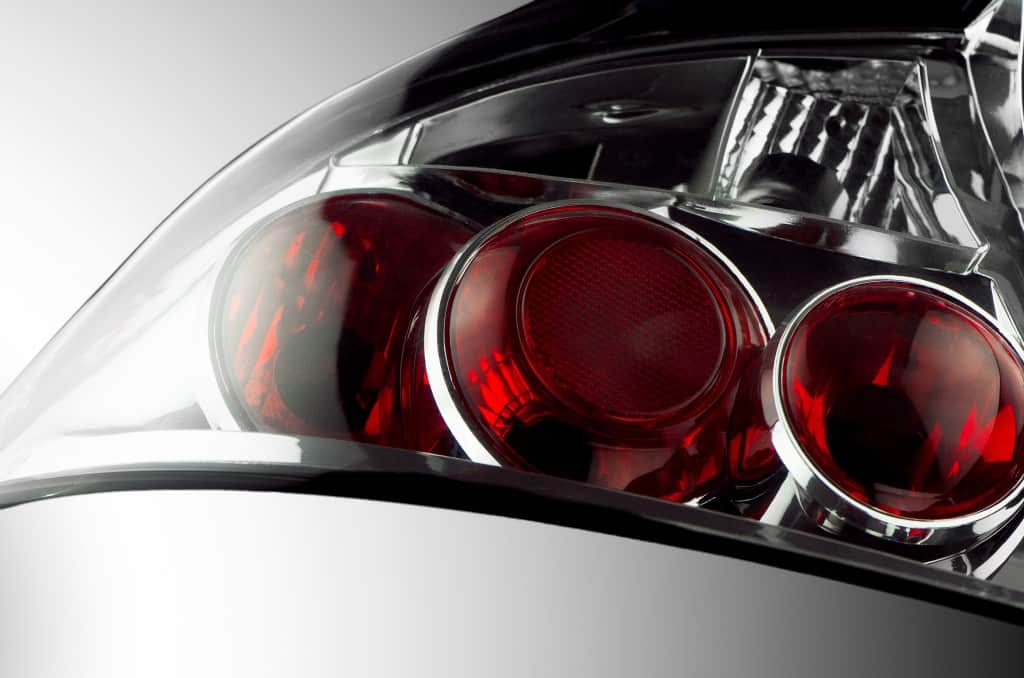
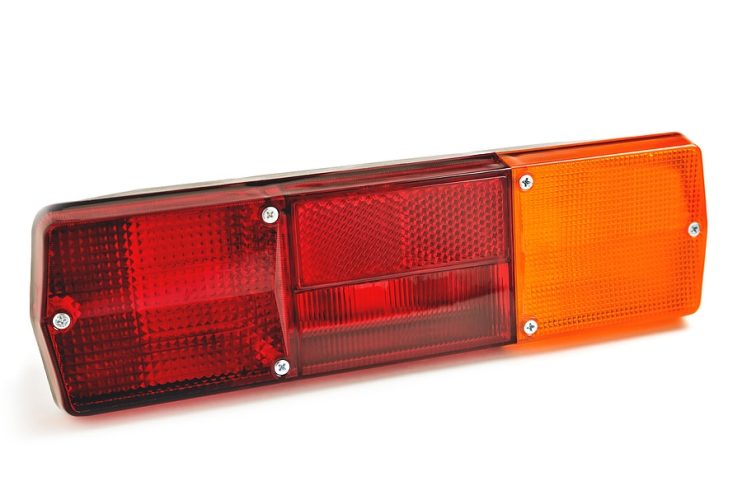
Rear Light Assemblies
In a three bulb rear light system, the brake lights are controlled by current supplied from the brake light switch. In order for both lights to operate simultaneously these are powered on a parallel circuit allowing both to be triggered at the same time. These light usually use special dual filament bulbs to survive malfunctions.
If one of your rear lights isn’t functioning, then remove the light housing and then simply replace the bulb as is described in the composite headlight section, as each bulb will be mounted within the unit in a similar manner. Once you have finished the replacement work, then ensure that the new bulb is working by asking someone to watch the lights, as you operate them from the front seat of the car.


