Has one of your headlights stopped working due to a faulty or broken bulb? This isn’t only a MOT failure but represents a major driving hazard that could see you in trouble with the law or even in an accident
Replacing a bulb is a fiddly little job that requires both patience and time, but it is one of the simpler jobs to complete on a car. You will be able to check that you have completed it properly with the flick of a switch and you can save money against a regular repair.
Most makes and models have different systems, but there are general rules across the majority of vehicles when it comes to replacing a bulb. Here are our general guidelines that could light your way to a dazzling DIY performance…
Table of contents:
- Replacing Your Headlight Bulbs
- Replacing Your Indicator Bulbs
- Replacing Your Brake, Tail and Reverse Light Bulbs
- And Finally
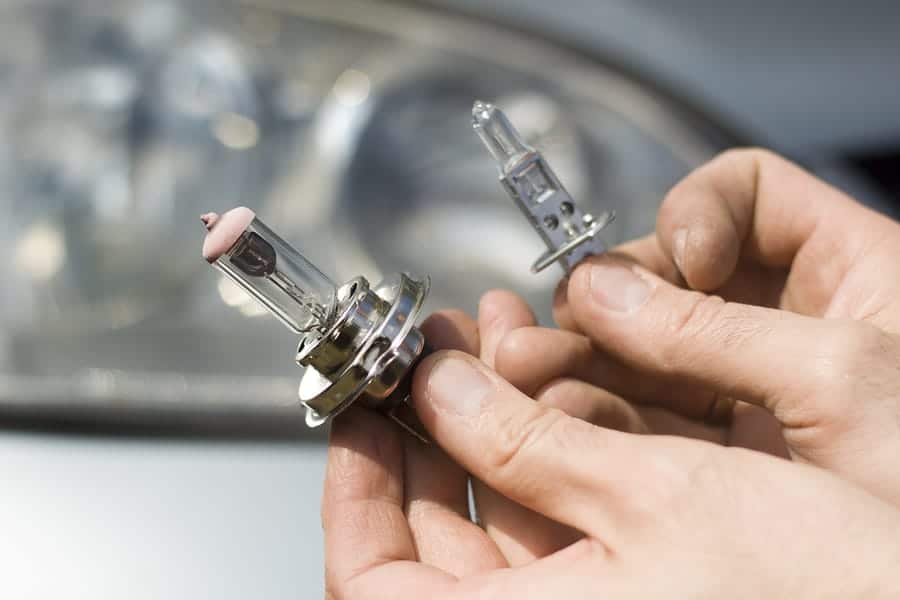
Replacing Your Headlight Bulbs
As with all procedures, it’s always a good idea to check your vehicle owner’s manual. Get the specific instructions you need to replace the headlights on your vehicle. Normally, it will additionally provide helpful illustrations alongside information about which fitting is required for the bulbs in your car.
Here are our general pointers to replacing a bulb:
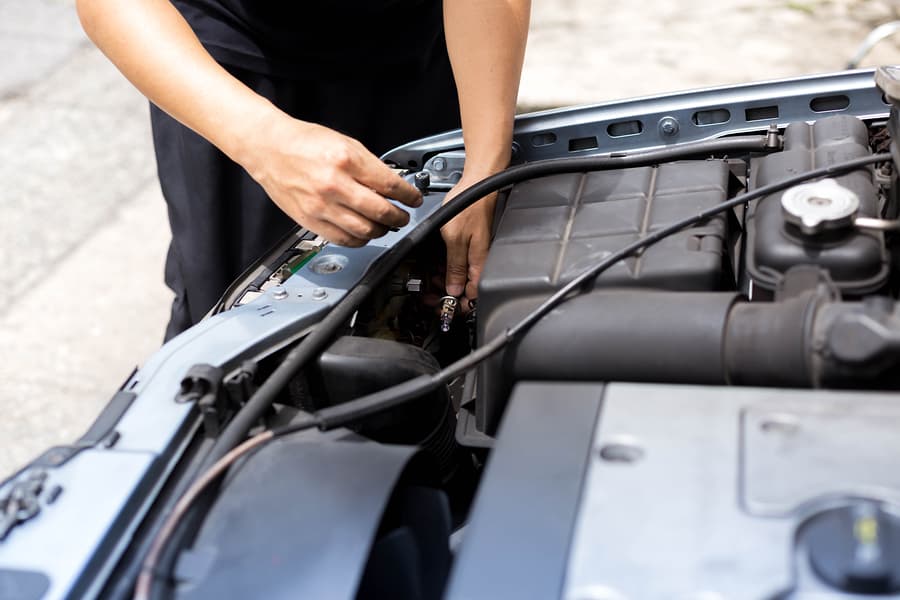
Removing the Bulb
Turn off the engine and take a look at the car externally to get a rough idea of the bulb positioning. Unlock the bonnet or hood of your car and prop it open. Disconnect the power connector from the back of the headlight assembly and remove the dust cover. Check for any clips holding the bulb in place and gently remove them before pulling the bulb out of its housing.
Replacement
Compare the old bulb to the new one to verify that you have the right part for the fitting. Insert the new bulb in the open socket, making sure that the glass part of the bulb is not touching anything as this could cause it to blow. And yes, we are talking about your hands. If there is a clip, replace this now together with the dust cover. Finally reconnect the assembly to the power supply and check that the unit is working.
Replacing Your Indicator Bulbs
When it comes to those little indicator bulbs, you are dealing with an altogether trickier proposition. This is because every car is designed differently. For specific instructions on how to locate the indicators, the owner’s manual is unbeatable, giving you additional information on how to deal with fittings.
The general approach in most cases is as follows:
Locating the Assembly
If the bulb is located under the bonnet, open it and prop it up. If it’s not under the bonnet, then it is most likely located behind the wheel arch or the car’s bumper. When you’re dealing with the wheel arch location, you will need to first turn the wheel to the opposite side for the bulb to be replaced, giving you space to get in the gap and access the compartment. You should now be able to locate the indicator light assembly.
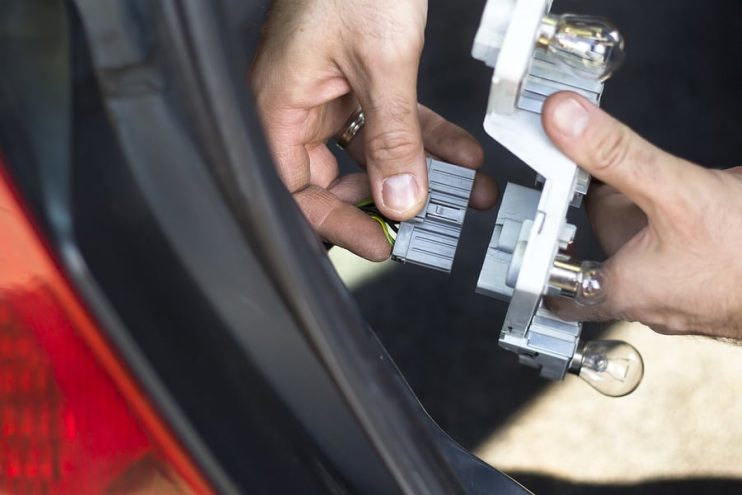
Removing the Assembly
First take off the back cover. You should now be able to slowly slide the assembly out from the front, but this may vary depending on the make and model of your vehicle. Remove the bulb socket. Usually this is done by carefully twisting it in a counter-clockwise direction before finally pulling the bulb out gently.
Replacing the Bulb
Insert the new bulb and replace the socket back into the assembly before sliding it back into place. Turn on the car and ensure that the new bulb is working properly. Replace the back cover and check that everything is where it should be.
Replacing Your Brake, Tail and Reverse Light Bulbs
Much like headlights, these bulbs are fairly easy to replace without the help of a mechanic. Similar mechanisms are used across different vehicle makes and models, meaning once you know how to perform this procedure on one car, you can transfer the skills to almost any vehicle.
Unlike the other bulbs however, you may require some tools to replace your brake lights. Certain assemblies may require a socket wrench to remove, whilst others need a little bit of working your way through the inside of the vehicle. Take a look around your vehicle and consult your owner’s manual to get the information you need. Once you know what you’re dealing with, use the following steps to complete the removal and replacement process:
Removing the Bulb
Open the boot of your car. If you can easily access the assembly from the inside of the vehicle skip the next 2 steps. First step, if you cannot get to the assembly from the interior of the vehicle, locate and unscrew the mounting bolts holding it in place using a wrench. Second step, take care removing the cover and never, ever force it off as this will probably damage the part and end up costing you quite a bit of cash. When access is not obvious, check the owner’s manual or have a look online for more information. Remove the tail light lens cover and inspect the part and find the brake light socket. It should now be a simple process of turning the bulb socket counter clockwise and gently pulling out the bulb.
Replacing the Bulb
Gently insert the new bulb in the exact place as the old one, before turning it clockwise to lock it in place. Run a test to make sure that the new bulb works. Get someone to start up the car and perform the appropriate procedure to light the relevant system necessary for the bulb to shine – such as the brakes or rear lights. Finally, you will want to replace the tail light lens cover and mounting bolts, leaving your car back in full working order.
And Finally…
Remember if a bulb does go in your lights, you need to make a replacement a priority in your life, before you go driving again. Even if you are driving on a sunny day with one headlight gone, you never know when the weather might change and you suddenly need illumination. Make safety your number one concern.


Pingback: Tips for Safe Driving at Night - BreakerLink Blog
Pingback: How to Perform Basic Servicing on your Own Vehicle - BreakerLink Blog