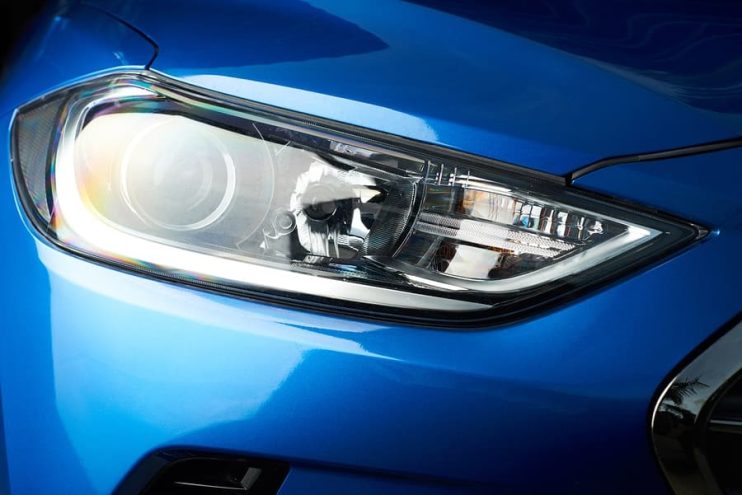
If your headlights are pitched up too high they could blind or glare other drivers, which is likely to be annoying and dangerous when out on the road. If they are pitched too low then you’re not getting full visibility and warning other drivers of your presence on the road. Fortunately it’s not too difficult to adjust your headlights yourself – with a little help from our instructional article.
Table of contents:
- Why Your Headlights Go Out of Alignment
- How to Tell There’s a Problem
- And How to Adjust Your Headlights
- Instructions for Adjusting Your Headlights
- And Finally
Why Your Headlights Go Out of Alignment
Small impacts and bumps can cause your lights to go out of alignment. Time and vibrations can cause the angle to change, and violent knocks could require you to make a complete change of the whole headlight assembly.
Worn shocks are likely to contribute to this problem, as they will cause the light seatings to shake causing them to lose alignment. And of course, don’t forget that when you have more weight in the car it’s likely that this will require you to manually change the dip of your car’s lights.
How to Tell There’s a Problem…
When your lights appear off centre and don’t seem to be providing sufficient cover you know you have a problem, also if drivers keep flashing you for having the full beam on, but you only have low beams activated, then you know that there is an issue with your lights.
And How to Adjust Your Headlights
If you see that one or both of your headlights has lost alignment, one option is to take your car to a qualified service garage. A mechanic will have no problem aiming the headlights in a short time as they have specialist equipment that they can use with a high degree of accuracy.
If your car is newer, then you may have the options to simply adjust your headlights using a button or knob located on the driver’s main control panel. If you cannot get your car to a garage or you simply want to save money it’s not too difficult to make the changes yourself.
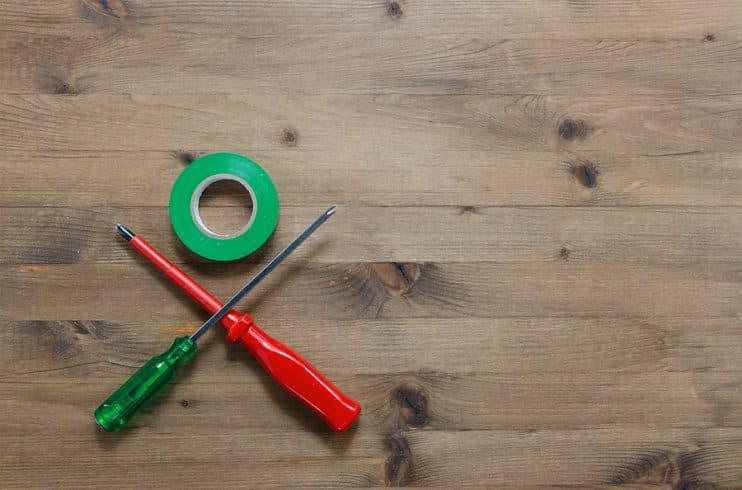
Inventory List
To adjust your headlights you will need to make use of the following equipment:
- Appropriate screwdriver (Phillips or flat-head dependent on your controls)
- Masking tape
- Measuring tape
Instructions for Adjusting Your Headlights
Step One
Park your vehicle on a level surface. Although most repair advice articles will always give you this instruction, it is especially important here as getting the beams correctly adjusted requires a flat surface as a baseline. Otherwise you may be simply adjusting your headlights in alignment to uneven or graduated ground.Make sure the car’s lights are also facing a wall or the garage door as you’ll be using this to mark the direction of the beams.
Step Two
Turn the low beams on and use masking tape to mark the horizontal and vertical centre lines of the light pattern on your garage door or other surface wall.
Step Three
Reverse the car around 7.5 meters or 30 feet. Cover up one of your headlights with a towel or similar and turn them on. If your car has a weak battery it may be advisable to keep the car’s engine running whilst you perform the necessary adjustments on the uncovered light.
Step Four
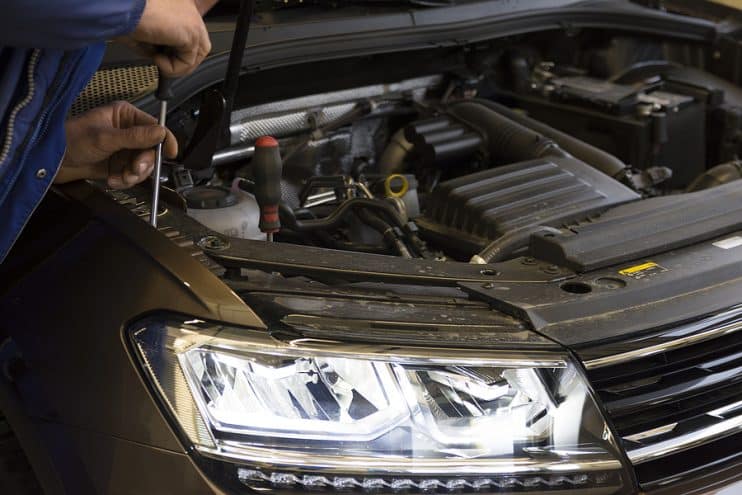
After checking the instructions in your owner’s manual, Undo the bonnet of the car and look at the back of the headlight casing. locate the headlight adjusting screws in the front of the car and get the appropriate screwdriver for the job – either a flat head or Phillips.
Step Five
One of the screws on top of the headlight should control the up and down movement whilst the other will adjust the left and right direction. Keeping your eye clearly on the beam’s position on the target surface, gently turn one of the screws to determine which plane it controls – if this isn’t clearly labelled.
Step Six
When considering your vertical adjustment, the top of the bright sport should lineup with or sit slightly below the horizontal tape mark you made previously on the door. For the left right adjustment, the bright spot should sit directly to the right of the vertical tape mark. This will give you the correct configuration for your lights, ensuring the road ahead is illuminated and that you do not blind other drivers.
Step Seven
Repeat the procedure as in step 6 for the other headlight until you are completely happy with the adjustment and you’re satisfied that the lights are in the correct position. Once you have sorted the alignment then take the car out on the road for a test drive and if necessary go through the steps above again if you need to correct further correct your lights.
And Finally
If you cannot seem to quite nail the optimal configuration for your headlights after a few attempts it may be best to take it to the mechanics to get the situation resolved. For a small charge they will adjust the headlights for you and ensure that they are in the ideal position for night-time road use.


