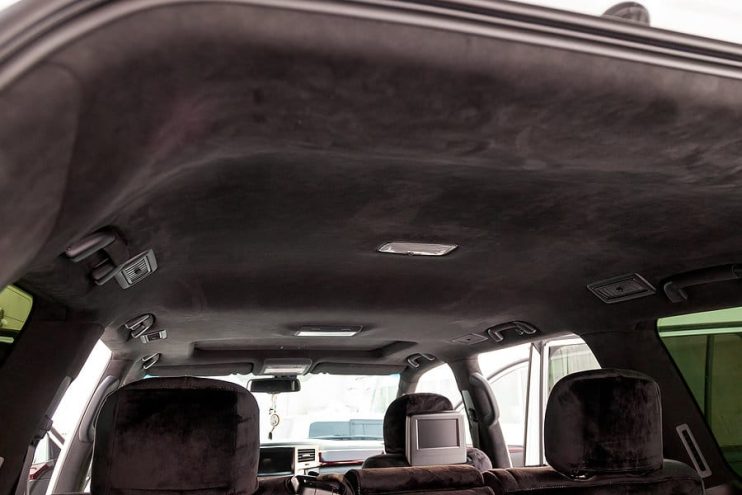
Did you know that your car ceiling has another name? Professionals call it the car headliner. As it lines the top part (head) of the car. Most people don’t even think about this part of the upholstery. Out of sight. Out of mind. And because you’re not in constant contact with it (like with the seats) you can easily go for years without cleaning it.
Ideally you want to clean the headliner once or twice a year. Why? Because an old, discoloured and dirty headliner can make your car look old beyond its years. Imagine you’re stepping into a second hand motor for the first time, and low and behold, there’s a yellow looking headliner that doesn’t quite match the pristine grey of the rest of the interior. What would you think?
Headliners are notorious for collecting odours and stains, which are really unsightly. However, the construction means that special attention is required when cleaning.
What purpose does the headliner serve, how is it constructed, and of course, the six million dollar question… How can you clean it safely and easily?
Why is the Headliner so Important?
Headliners are almost never affixed directly to the underside of your roof.
Normally, you’ll find a small gap between the headliner and the metal. The cavity space functions in a number of ways – firstly it forms a layer of air, helping keep the car warm in winter and cooler in the summer.
Secondly, the cavity can be filled with foam that keeps the noise and vibrations down. And finally, headliners look good. Exposing the underside of the roof to passengers, could show rust and metal fatigue that isn’t so kind on the eye.
How are Headliners made?
Headliners are usually constructed of three standard layers. Closest to the metal roof is the foam backing. Made to absorb vibrations and noise, this helps insulate the car from frost, whilst diminishing outside sounds, including rain on the roof.
Next it’s the rigid card or polymer layer that’s used to help the headliner retain its shape, sitting concurrent with the lines of the roof.
The outermost layer is usually made from vinyl, plastic or fabric, giving the headliner its finish.
The Three Ways to Clean Your Headliner
Different types of dirt, muck and markings on your headliner require individual methods of cleaning. Choose the one most appropriate for the job in hand…
1. Spot Cleaning – For Small Marks and Dirt Deposits
Use a cloth to wipe away the larger pieces of dirt, taking special care not to rub any of the dirt into the fabric of the headliner – as this will make it nigh on impossible to remove later. A light microfibre cloth is best for this job, although a towel or even a tea towel, will do at a push.
Take a can of foam cleaner and use sparingly. If you haven’t tried the brand before, then it may be advisable to try a tiny spray on a section that’s out of the way, to check it doesn’t mark the fabric. Once you’re satisfied that the cleaner is good to go, spray it either on the cloth, or the mark, and wipe it away.
If the dirt is proving more stubborn, then work the cleaner up into a slight lather, so it penetrates the top layer of the headliner, then wipe it away with a clean corner of the cloth.
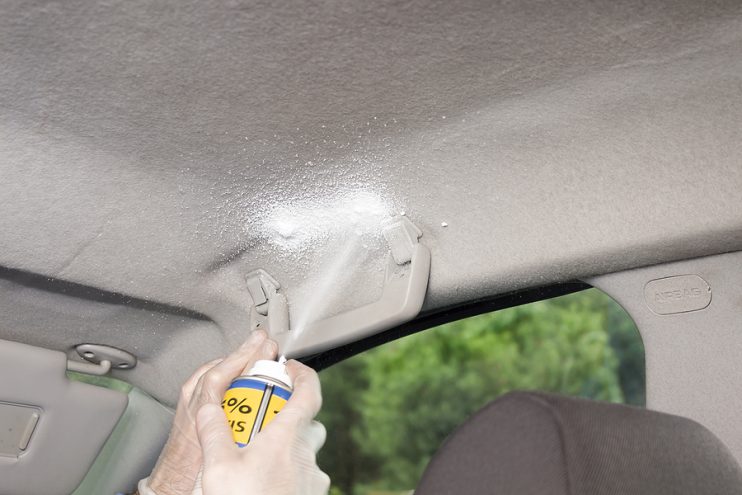
2. Surface Cleaning – For Larger Dirty Deposits
Again your first step is to try to remove as much of the surface dirt as possible, wiping and brushing it off the surface with light wipes of the cloth. Don’t use too much pressure, or you could turn filthy marks into ground-in problems. Alternatively you may even find that a soft bristle brush works better in these situations.
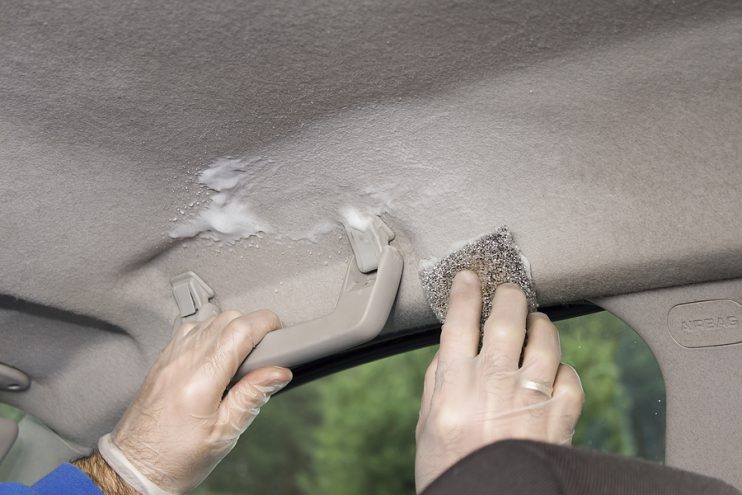
Using extreme care, spray the entire headliner with cleaner. Don’t overdo it, as you can always respray if you aren’t getting enough cleaning power, but you can’t take cleaner away if it’s starting to saturate the fabric. Give the cleaner time to start getting to grips with the dirt, and then gently give it a hand with the brush.
Once you have given it a going over let it dry. If there are still traces of dirt, then there’s nothing stopping you from giving it another clean.
3. Deep Cleaning – When All Else Fails
Use deep cleaning when you have serious problems and stains that can’t be shifted by a surface clean. Be aware that deep cleaning methods can attack the structure of your headliner, causing the layers to separate, and the glue that holds the part in place to weaken.
The most popular method of deep cleaning is to use a steam cleaner. Ideally you’ll want to attack small sections at a time. Steam cleaning on its own could be enough, although you can use it in conjunction with a detergent for the best results.
Use the steam cleaner and the cleaning solution to work small sections one by one. When you are satisfied with the end result, make sure that you give the car plenty of air – leave the windows open and consider using a fan to ensure the headliner dries properly.
Keep it Fresh
Ensuring your headliner stays clean is not only about good looks, and preserving sell-on value. It’s your protective barrier from the elements – including noise, cold and heat.
However it can collect odours and stains over time that can diminish the in-car experience, for you and your passengers. Cleaning the headliner helps bring back that good feeling of comfort and pleasure – as your car looks good and smells nice again. And whilst you’re at it – have you considered brushing up the rest of your upholstery?
Disclaimer: These articles are for guidance purposes only. If you have any questions regarding any matter
relating to your vehicle we would recommend that you seek the advice of an appropriate professional.
We accept no responsibility or liability should you suffer financial or personal damages in
relation to the advice stated on this website.