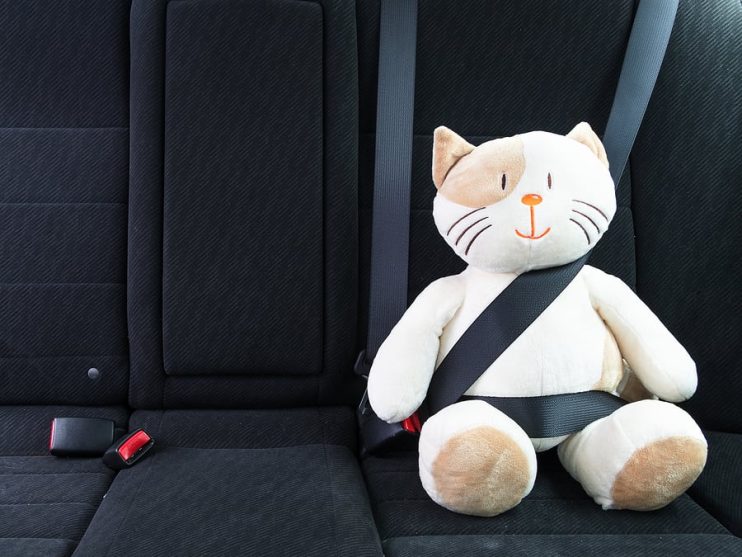
Over time seat belts can become frayed or even ruined completely. They rely on an inertial system that locks the belt in place when your vehicle experiences a sudden or violent movement. Sometimes this mechanism can degrade over time and stop working. If this is the case, you need to replace the belt immediately as your vehicle will be unsafe without adequate seat belts. It is illegal to drive a car without the proper driver and passenger protection.
Replacing your seat belt it quite a simple job, but it does require a modicum of mechanical knowledge to get it right. There are two parts to the modern seat belt – the buckle and the strap and the retractor unit.
It is worth noting that if your seat belts have a pre-tensioner in them then they cannot be fitted by the general public, in much the same way as airbags need a special fitter. Do not attempt this kind of replacement work and visit a garage in this instance instead.
It is much easier to replace the whole seat belt unit at once rather than opening up the retractor to retain your existing belt. The task should be relatively speedy and not require any more than 30 minutes to an hour.
You will need: spanner and screwdriver.
Detach the Belt and Buckle
Firstly, you’ll need to unbolt the seat belt from its fixing points in the car. If this is a lap belt type seat belt, there will be one fixing point for the belt plus one for the buckle, whereas a shoulder strap will have two fixing points plus one for the buckle.
It may be the case that you need to lift up seats or even plastic bolt covers to access the fixings. Use your spanner to remove all the bolts around the retractor and the buckle unit, and take the parts out of the car.
Insert New Retractor and Seat Belt Unit
The next step is to insert the new retractor and seat belt. Take care to line up all the holes and then screw in the bolts as tightly as possible, before fixing in any additional bolts required to hold the shoulder strap in place.
When this is fixed in place check the retractor works by pulling the belt out of place.
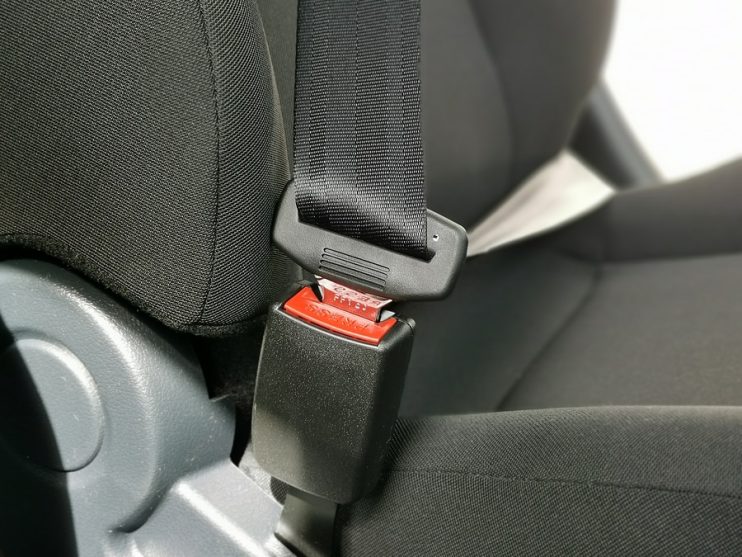
Attach the Buckle Unit
Now you’ll need to put the buckle unit in place, checking that it lines up with the holes before using the spanner to tighten the bolts.
When this is complete, simply pull the seat belt out of its retractor and ensure that it lines up with the buckle and will slot safely into its seating in the new buckle.
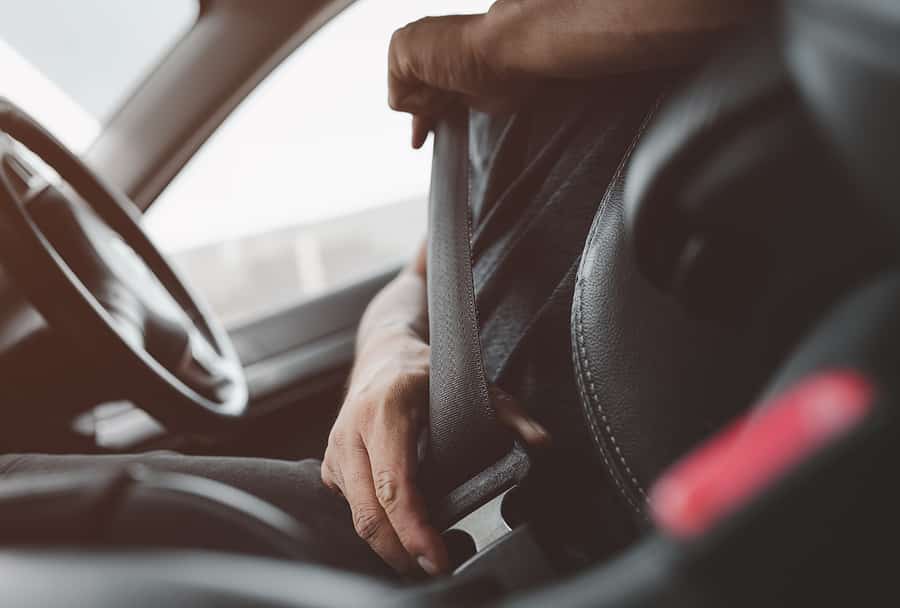
Check the Seat Belt
When you have finished this replacement job, push and pull the unit around to check that the fixings are secure and that the bolts are tight enough. Using considerable force, pull the belt out to check that the inertial stop is working as it should, causing the belt to lock in place, as you simulate a collision or accident with the car.
If the belt doesn’t halt then there’s a good chance your new unit is faulty and should be further checked.
Disclaimer: These articles are for guidance purposes only. If you have any questions regarding any matter
relating to your vehicle we would recommend that you seek the advice of an appropriate professional.
We accept no responsibility or liability should you suffer financial or personal damages in
relation to the advice stated on this website.