The glove box is one of those essential items in a car. It’s where you keep your best of Queen CD case, even though the CD has been lost a long time ago, together with random knick-knacks, tools and perhaps even your owner’s manual or log book.
Alternatively you might be the tidy type who keeps almost nothing in the compartment other than a tin of travel sweets in case one of your passengers is feeling a little peaky. However you use your glove compartment, there’s one thing that you’ll want to avoid, which is having the latch break on you leaving the compartment door flapping around as you negotiate corners. This is a fairly easy task that does not require any previous mechanical knowledge and as you won’t be working under the bonnet, you won’t need to know any of the major working parts in the engine.
You will need: A screwdriver and a clean, lint free cloth.
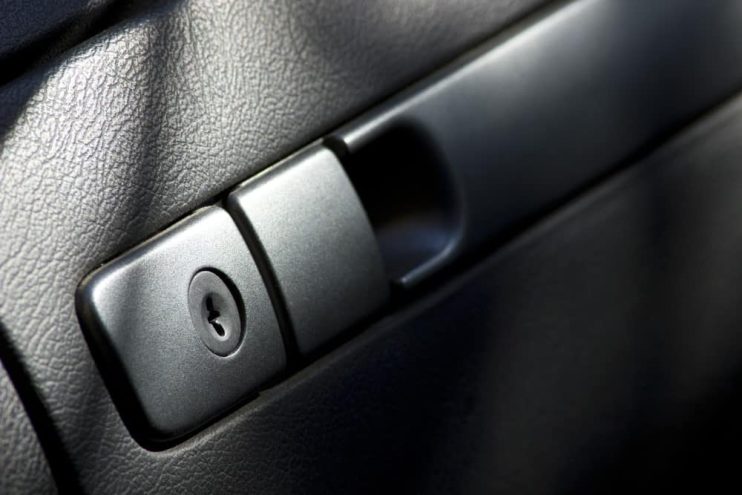
Locate The Glove Box Latch
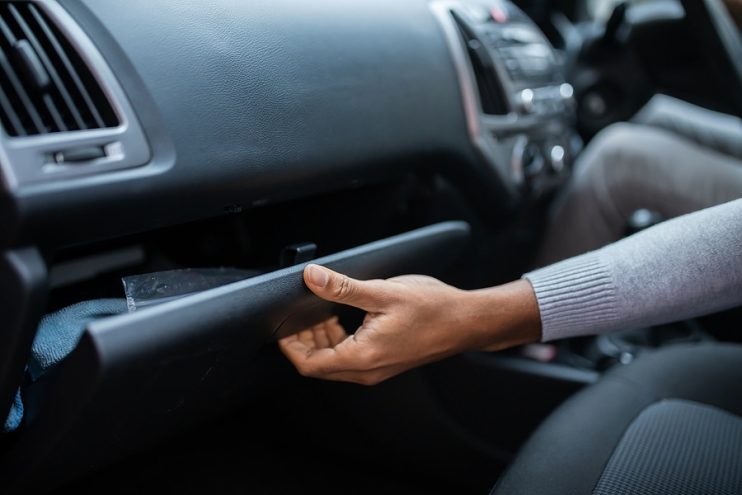
Look inside the compartment and you should be able to check the condition of the latch, if this is not in good working shape then the next thing to do is to remove the whole of the compartment from its seating in the dashboard. This should be held in place by a couple of small plastic stoppers. These can be removed manually requiring a short quarter turn twist on each of the knobs to take them out of the car. You should now be able to fully pull the glove box out of position.
Detach the Locking Latch
There should be two screws holding the latch in place at the top inside edge of the glove compartment. Remove the screws with a screwdriver and place them aside for reuse. This should effectively free the latch completely from its seating, allowing you to simply pull it out of position and dispose of it appropriately.
Install the New Latch
It’s now a very simple case of taking the new latch and putting it into place on the front inside edge of the glove compartment. Using the two screws that held the previous latch in place, attach the new latch, tightening the screws until they are at the fullest tightness. Dust off the glove compartment with your cloth ensuring that it is completely clean before pushing the glove box into place.
Replace the Glove Box
Finally you should be able to put the glove box complete with its new latch back into its seating in the car dashboard. This will then require you to turn the two holding screws back into place, firmly fixing the box into its seating. The last step should be taking the lid of the glove box and flipping it back so that the new latch can finally hold the door in place.
When this job is finished it will be obvious as to whether or not the whole job has been successful. If the latch isn’t holding the door or lid of the glove box in place then check the alignment and make sure that the screws are screwed down tightly so as not to be pushed out of place when the door is shut.
Disclaimer: These articles are for guidance purposes only. If you have any questions regarding any matter
relating to your vehicle we would recommend that you seek the advice of an appropriate professional.
We accept no responsibility or liability should you suffer financial or personal damages in
relation to the advice stated on this website.