Scratches in your windscreen are more than annoying. They can also impact your clarity of vision and stop you from ascertaining full visibility on the road. A small scratch can lead to a big crack that can only be fixed by a costly replacement, meaning that it seriously pays to mend a small scratch before it turns into a big bill.
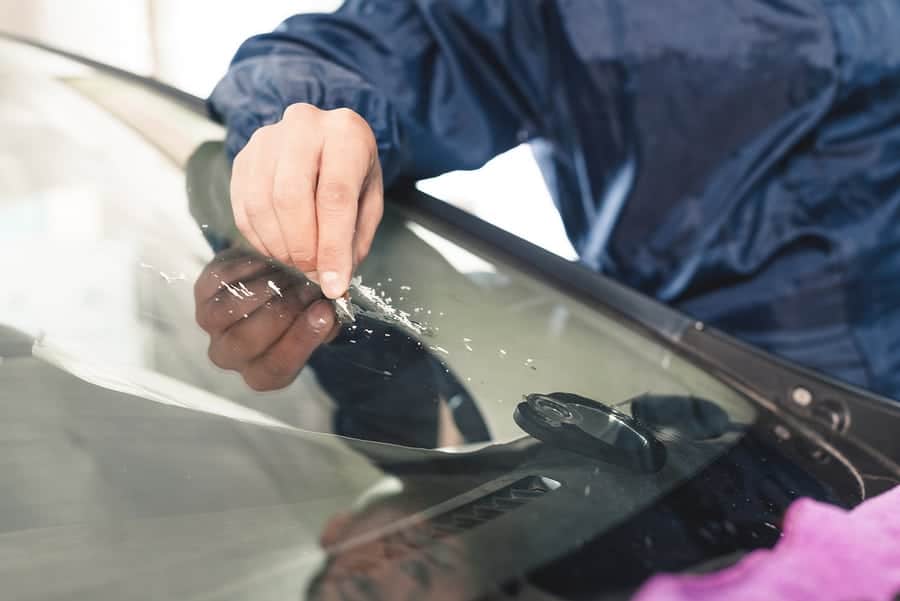
Deep scratches need professional attention, but smaller scratches can be resolved by yourself. As a simple test you can run your fingernail over the scratch. If your nail gets caught then you know it’s time to call the glass repair centre or start shopping around for a replacement windscreen.
However a smooth touch means that you could be in luck.
There’s a simple enough repair process that could improve your visibility and
stop you having to fork out for repairs.
You will need the following:
Glass scratch Repair Kit
Rubbing Compound containing Cerium Oxide
Glass Cleaner
Drill with buffer extension
Dry Soft Cloth
Masking tape
Step One: Preparation
First you’ll need to clean the windscreen, washing well with
soap and water. Use a glass cleaner to get rid of tough stains and scrape of
all the stubborn grim with a plastic scraper. Avoid using a harsh metal scraper
as there’s a fair chance this will actually damage your windscreen, causing
more scratches. Once you’re happy with the end result then leave the windscreen
to dry naturally in the atmosphere.
Step Two: Mask Off
Firstly you’ll want to cover the windscreen with masking
tape. The polish can splatter onto the paintwork and cause chemical erosion and
leave marks. A little care and attention at this stage will prevent you from
ruining your car’s lovely shine. Some experts even say you can use a little
masking tape on the inside of your car to help you see the scratch, and focus
on the area that needs repairing.
Step Three: Apply Paste
This step requires a delicate touch. Take the rubbing
compound out of the glass scratch repair kit and carefully apply it to the
scratch. Be economical with the amount you use. Too much and you could be
looking at an uneven finish to the windscreen that could impair visibility even
more than the original scratch. The compound will look a little like toothpaste
and may require a light spray of water in order to activate its properties.
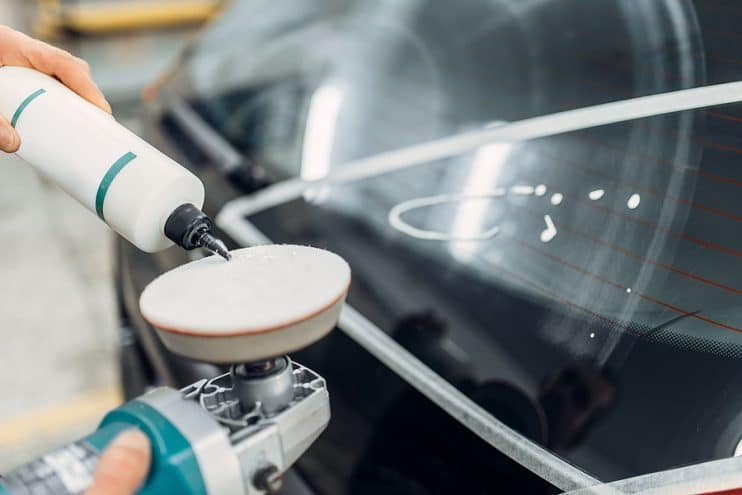
Step Four: Buff the Repair
Time for the power tools. Using a drill with a buffer extension,
slowly buff off the area on the glass surface where the scratch was present,
taking care to keep the revolving head moving all time and don’t focus too much
on any one individual area.
Be really aware of the amount of pressure you’re using and remember
that a light touch in this situation wins the day. Also many experts say that
using an electric cordless drill doesn’t quite reach the RPM limit you want for
a nice, polished finish. Use a standard direct to mains drill to get a great
final finish.
Repeat steps 3 and 4 until you are complete satisfied with
the result
Step Five: Clean off the Windscreen
When the process has been completed you’ll want to remove all the masking tape from the front of your car and behind the scratch. Clean off the windscreen using a light detergent, clean water and a soft cloth to dry the surface when it’s complete. There you have it. Money saved and vision restored.
And Finally
Windscreens are a vital part of your car. Sometimes you can even get deep chips and gouges in the glass on dual carriageways and motorways when stones fly up and hit the glass at speed. Again these are also best fixed quickly and can often be done in minutes at a glass repair centre. Leave them in the cold and heat when the glass can contract and these little chips can turn into big cracks.
Disclaimer: These articles are for guidance purposes only. If you have any questions regarding any matter
relating to your vehicle we would recommend that you seek the advice of an appropriate professional.
We accept no responsibility or liability should you suffer financial or personal damages in
relation to the advice stated on this website.