There are few things that are as frustrating to a motorist as a failed windscreen wiper motor. You never realise this part isn’t working until the rain starts pouring down and you can’t clean your windscreen. All too often this means you’ll have to pull into a layby and wait for the rain to subside before continuing on your journey. However once you’re back home, you can quickly and easily change this part out for a new or second hand spare in around about three quarters of an hour.
1. Locate your Wiper Motor
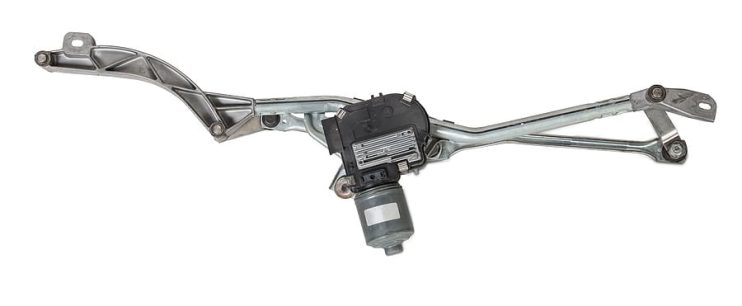
The first step is to find the faulty windscreen wiper. It shouldn’t be difficult to work out where-about this is in the car based on the fact you have full visibility on which part has failed. The actual part will be located under the hood, usually between the engine and the passenger compartment, but if you are having difficulties identifying it then your owner’s manual will give details of its exact location.
2. Check the Electrics
Before you go right ahead and change out the windscreen wiper motor, you’ll want to check that the part is at fault and you’re not actually simply looking at a case of failed wiring. Use a fused jumper wire to bypass the motor’s relay, hooking one side to the positive terminal on the car battery. Then touch the other end to the positive node on the motor. If it moves you know this is a fault in the electrics and the relay needs replacing. No movement in the motor equals a dead part and a replacement wiper motor.
3. Remove the Wiper Motor
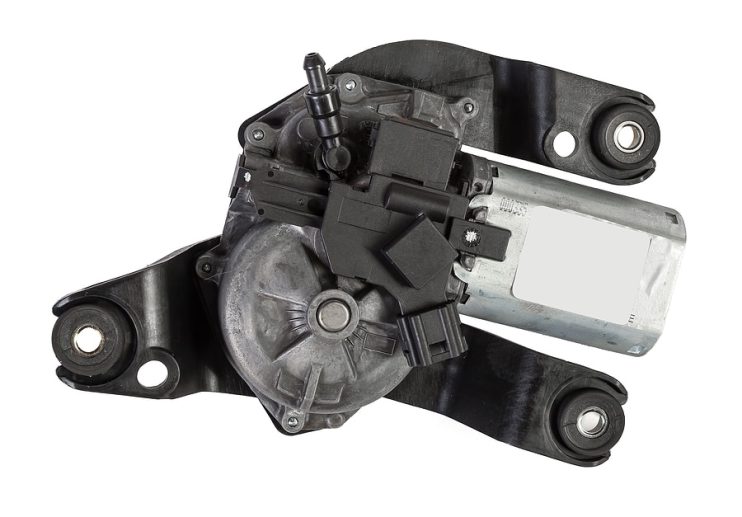
When removing the motor the next step is to locate the grounding strap. One end of this should be secured to the motor case via a bolt or screw, so detach this in the first instance and take care not to stretch or damage the grounding strap, as you’ll need this to be in good condition in order to earth the new part. Then carefully unscrew all the other bolts that hold the motor in place before slowly easing the washer motor out of position.
4. Install the New Part
As with all new parts perform a quick comparison between the old part and the new or second hand part you’re going to install to ensure that all the holes are in the same place. Then simply ease the new part into position and re-screw the bolts, taking care not to overtighten them. Reconnect the grounding strap and the use the piece of fused jumper wire to check the electrics on the part. If there is no response from the motor, you know that you’re looking at a faulty replacement part.
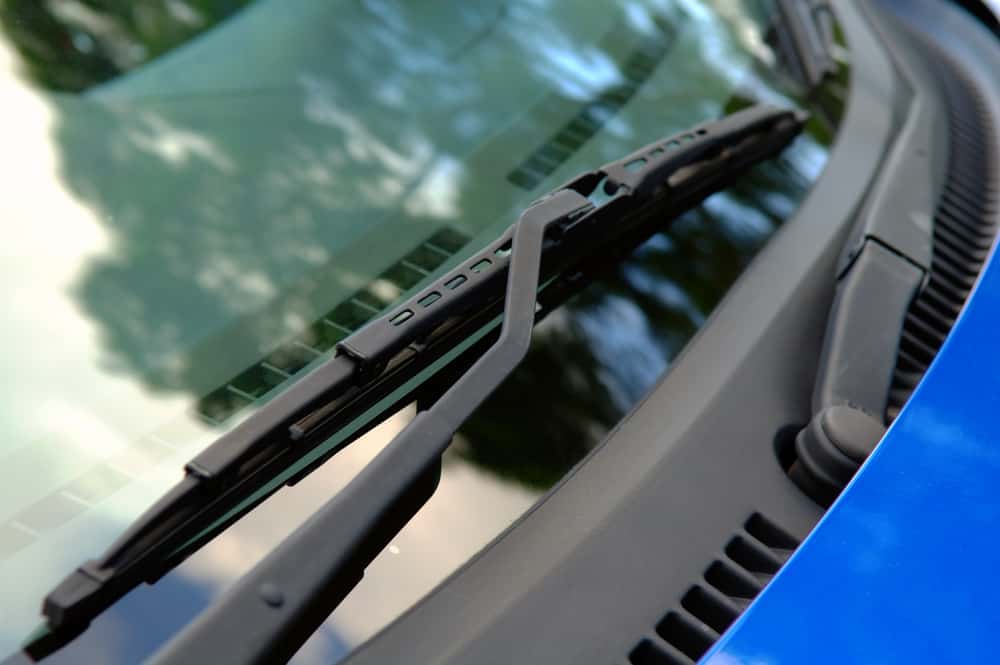
Unfortunately as the windscreen wiper motor is an electrical part there are no tell-tale signs that the part is starting to degrade or fatigue. Signs such as jumping or streaky blades are usually down to old rubber in the blade as opposed to problems with the part. The trouble with the windscreen wiper motor is that it will simply fail – and is you will never know until you use it, this is often at the most inopportune moment.
Disclaimer: These articles are for guidance purposes only. If you have any questions regarding any matter
relating to your vehicle we would recommend that you seek the advice of an appropriate professional.
We accept no responsibility or liability should you suffer financial or personal damages in
relation to the advice stated on this website.