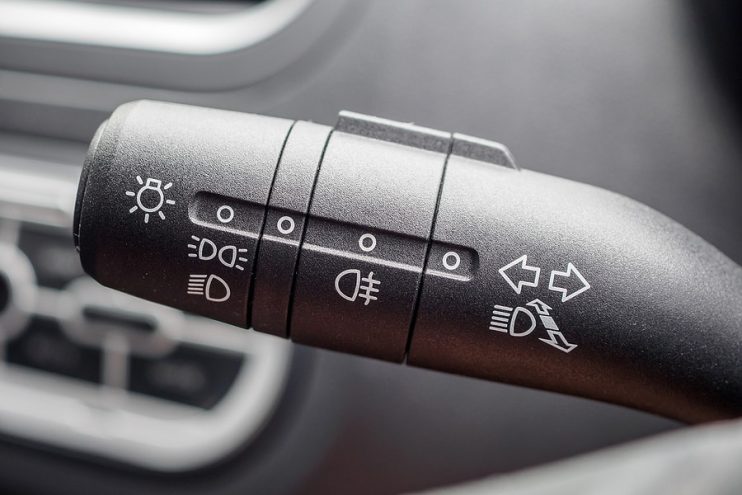
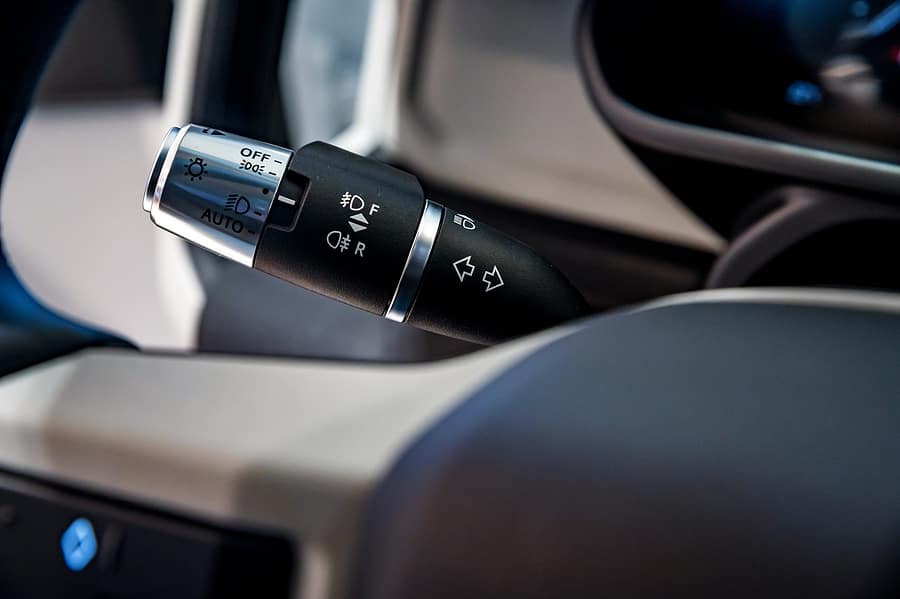
The indicator stalk is the part of the car’s control systems that is used to control your vehicles indication lights. It is usually mounted on the steering column, giving you easy access without having to remove your hands from the steering wheel. Most indicators have a mechanism in them that turns them off when the steering wheel is rotated in a contrary direction to the indicator light.
When the indicator fails to initiate or the stalk does not pop back into place when you counter rotate the wheel, it’s likely you have a problem with the stalk and it will need replacing. This is a fairly simple job that can be completed in roughly an hour’s time by anyone with a modicum of mechanical knowledge.
However if your car has an airbag fitted in the steering wheel it may be the case that this needs to be removed before the indicator stalk can be accessed. In such instances we would recommend that you do not remove the airbag and deployment system yourself, but rather take it to a professional garage.
You will need: screwdriver, wiring diagram, owner’s manual
Step 1: disconnect the car battery
In the first instance you’ll need to disconnect the battery to prevent a short circuit when working on the car’s electrics. Open the bonnet, locate the battery and remove the negative lead from the battery’s negative terminal. It should now be safe to work on the car.
Step 2: remove the steering column shroud or cover
Next you’ll want to detach the steering column cover or shroud carefully. This will require you to locate two small screws in the moulding. When these have been removed the shroud should split apart. In some case you will need to remove other parts of the car to access the shroud as well as lowering and manipulating the position of the steering.
Step 3: locate the old indicator stalk’s wiring
Find the indicator stalk and gently wiggle off its individual cover. It may be the case that you have to manipulate the steering column further in order to completely pull it out of place. Now you’ll want to refer to your car’s wiring diagram to identify the correct wires, especially if the stalk has other functional capabilities alongside the indicator control.
Step 4: remove the old indicator stalk
Now you should be able to remove the old indicator stalk. First up unplug the wires, which will usually be a multi-connection plug. Next you’ll want to remove the indicator stalk. There may be a number of different connection systems here ranging from a single screw or bracket through to multi-stalk systems. Check with your owner’s manual to see how to remove the individual stalk from your appropriate system.
Step 5: install the new indicator stalk
When you have the old stalk out of its place, compare it with the new stalk to check these are exactly the same. When you are satisfied you have the correct part simply re-fix the indicator in place and then connect the wires. Finally put the shroud back over the stalks and when you have put this in place, reconnect the negative lead to the battery terminal.
Finally
When you have completed the replacement work, the first thing to do is check that the indicator works. If you are satisfied that the light is coming on correctly, then take the car out on a short test drive to ensure that the mechanical aspects are working too. If there is any kind of problem, then this could be down to a deeper problem in the car’s circuits, so it may be worth getting these checked out, either at a garage or using your own voltmeter.
Disclaimer: These articles are for guidance purposes only. If you have any questions regarding any matter
relating to your vehicle we would recommend that you seek the advice of an appropriate professional.
We accept no responsibility or liability should you suffer financial or personal damages in
relation to the advice stated on this website.