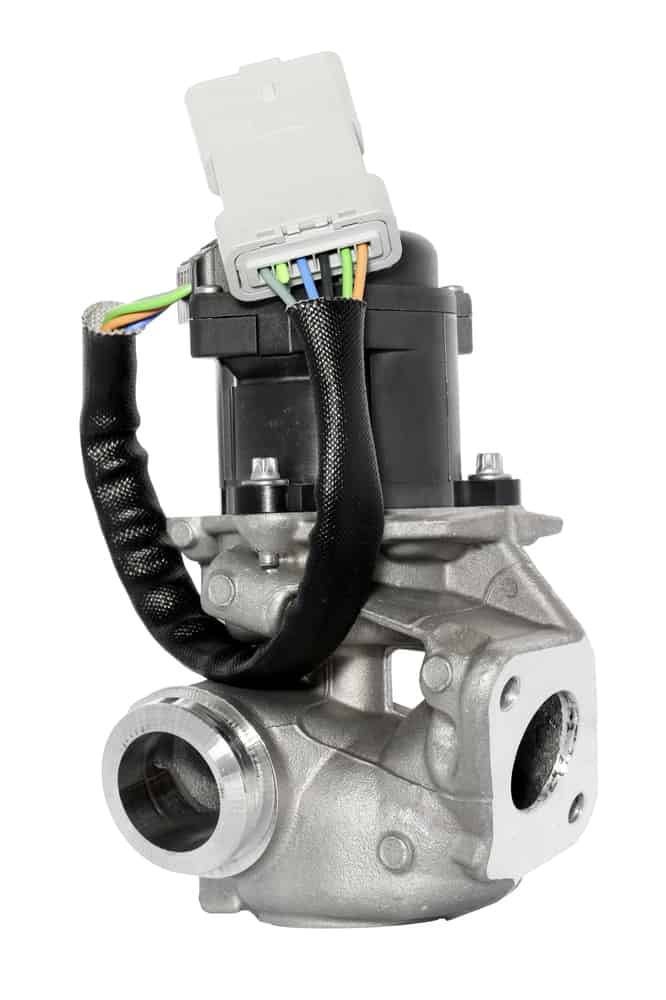
The EGR (exhaust gas regulation) valve helps reduce emissions from your car. It effectively channels some of the exhaust gasses back into the combustion chambers of the engine, helping cooling.
When an EGR is not functioning correctly, this has a negative impact on your engine’s efficiency. This can lead to problems including knocking, a hesitation in your car’s response to acceleration, disruptions in timing and even stalling. If you are experiencing these problems, check the EGR valve, which could either be stuck open or closed.
If you are repeatedly experiencing these problems, it is time to change the EGR valve. This is a relatively easy mechanical job, and can even be taken on by a novice.
You will need: Socket set, Phillips screwdriver, spanner, carburettor cleaner, putty knife, and a small drill bit.
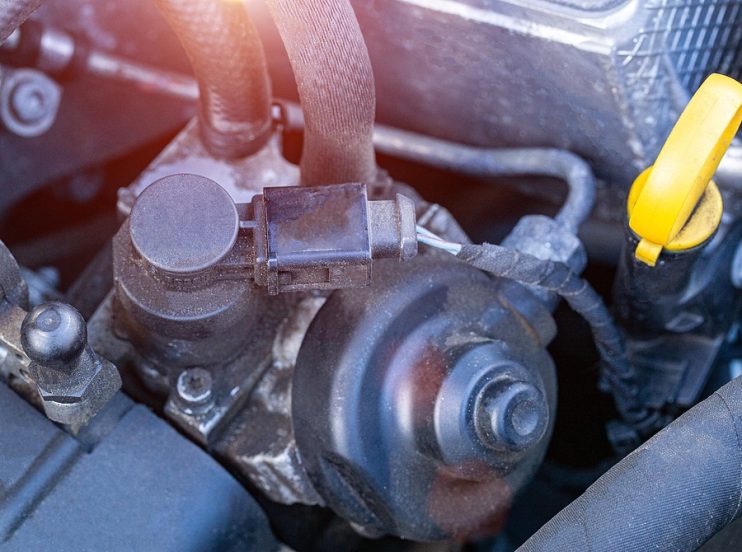
Locate the EGR
Once you have parked up your car on some dry flat ground, the next thing to do is open the car bonnet and disconnect the battery. Now look for the EGR valve. This is usually labelled with a sticker that says EGR Solenoid. However, if there is no such label, simply refer to your owner’s manual, which should give you the location of the part.
Remove the EGR Bolts
Examine the EGR valve and find the bolts that hold the part in place. Use your socket set to remove the bolts one by one. You may find that these are held in place quite tightly. A small lubricant spray is often useful in helping you initially loosen these bolts.
Disconnect the EGR Tube
The only thing now holding the EGR valve onto the engine should be the EGR tube. Using your spanner or an adjustable wrench unscrew the bolt holding this in place and simply let the tube hang down in the engine.
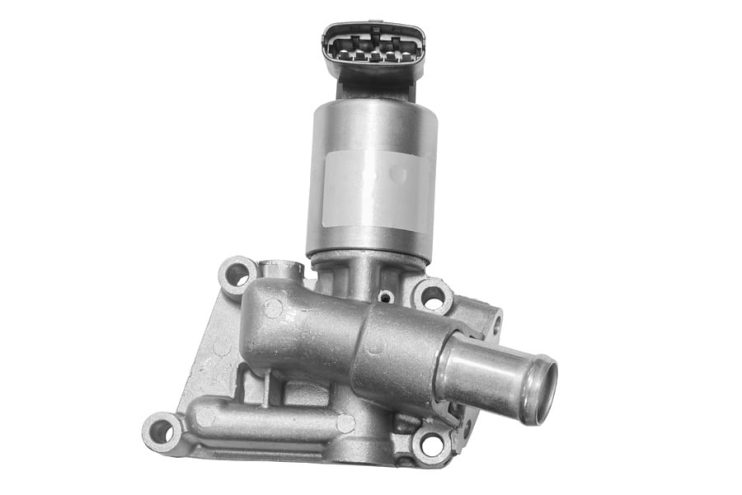
Inspect the EGR Valve
Now you should be free to look at the part. If you find any holes whatsoever in the part, put it to one side and go to install the replacement EGR valve. However, if there are no holes then you could alternatively clean the part using a can of carburettor cleaner and a scraper, and drill bit to poke out any sediment in the valve.
Replace the EGR Valve
As with all replacement work, compare the old and new parts to make sure you have the right one. This should come with a seal to place on the EGR valve to ensure there are no gas leaks from the part. In the first instance you’ll need to reattach the EGR tube and then systematically bolt the part back onto the engine. Finally connect the battery and start the car to test the EGR valve.
When the car is idling ensure that there are no leaks coming from the EGR valve. Then take the car for a short test drive, if you are still experiencing knocking or problems with the responsiveness of the accelerator, the chances are that there is a deeper fault with the engine in addition to the previous fault with the EGR valve.
Disclaimer: These articles are for guidance purposes only. If you have any questions regarding any matter
relating to your vehicle we would recommend that you seek the advice of an appropriate professional.
We accept no responsibility or liability should you suffer financial or personal damages in
relation to the advice stated on this website.


")
