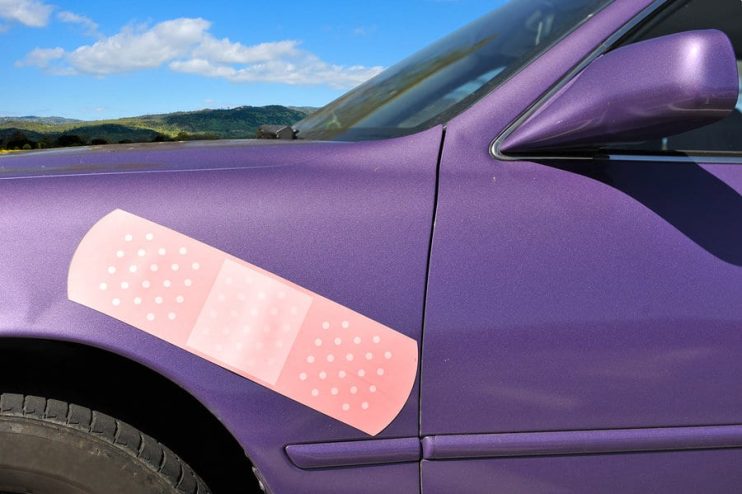
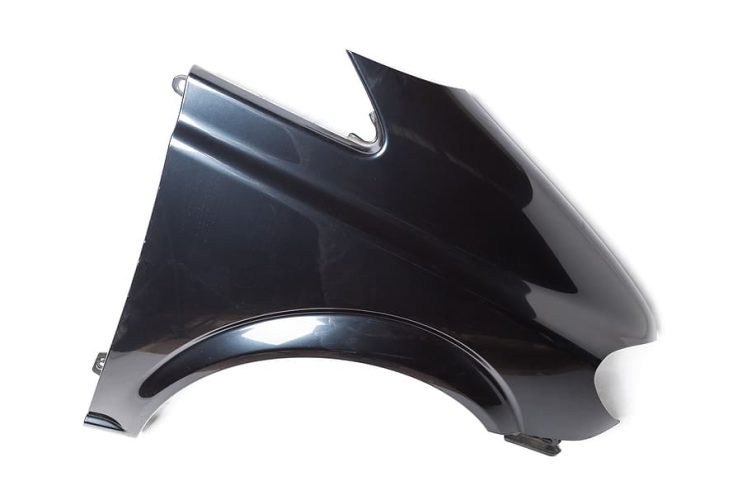
Your car’s wing is an integral part of its bodywork. Small accidents or collisions could cause this part to buckle or bend, becoming completely useless. In the event that your wing is either too damaged to be fixed, or not really worth the money of employing a panel beater to fix, then changing this part yourself should be simple.
Anyone with a modicum of engineering experience should be able to replace the wing on their vehicle. It doesn’t require any mechanical changes with the engine and there are no tricky moving parts.
You will need: socket set, Philips screwdriver, spanner, trolley jack, and axle stands.
Remove the Front Wheel
First, as with all mechanical work, make sure the car is parked on dry flat ground with the handbrake engaged. Whilst the car is still on the ground, loosen the wheel nuts as this will be difficult when the car is on jacks. Raise the car up using the trolley jack and completely remove the wheel nuts, placing the wheel out of the way.
Unbolt the Car Wing
Work along the wing methodically and remove the bolts that hold the part in place one by one. These are inside the wing in the engine bay, and may require a considerable effort with the socket set for full removal. Once you have taken off all the bolts, put them in a safe place and remove the scuttle panel, which may be attached via a small bolt or screw.
Locate and Remove the Door Hinge Bolt
Next locate the single bolt that is situated behind the door hinge. It is difficult to access this with the spanner so use a socket set. Pay due attention when the bolt is fully removed, as the bolt may fall down and become stuck in the gap between the door and the car’s bodywork. There may be a further bolt under the door sill that also needs carefully attention to remove it properly.
Remove the Bumper Bolts
The final two bolts are hidden behind the bumper, so you will have to detach the bumper on the appropriate side. This should be a relatively easy task, requiring you to look for the attachment bolt, which is normally held in the wheel arch. Next remove any clips that hold the bumper in place, and edge it out of the way to access the wing fixings.
Detach the Car Wing
Pull the wing off the body of the car. This may require considerable force as it is often glued in place, but with some gentle force it should slowly begin to move from its seating. Next detach the side indicator and unplug it from the car.
Install the New Wing
This is a simple procedure now you know how the wing is attached to the car. First make sure that the bolts are all available and begin by attaching the side indicator. Following this screw the wing back underneath the bumper, and pull the bumper back into place. Next go for the bolts in the door frame and finally fix the bolts in the car bonnet.
It should be fairly obvious that your new replacement wing is firmly back in place, however a quick test drive should help you ensure all the fixings are tightened to the correct level. Any shaking or rattling when you accelerate indicate that there is a problem with the nuts and bolts still being a little loose. If this is the case tighten the bolts one by one.
Disclaimer: These articles are for guidance purposes only. If you have any questions regarding any matter
relating to your vehicle we would recommend that you seek the advice of an appropriate professional.
We accept no responsibility or liability should you suffer financial or personal damages in
relation to the advice stated on this website.