How do you know if a cylinder head in your engine is having problems? One of the most common tell-tale signs will be a noise that your engine is misfiring, leading to performance problems and you may even notice that your engine is rapidly overheating after a few low speed miles on the road. Other symptoms include a sweet odour coming from the engine block, created from coolant leaking into the engine, or a puddle of coolant collecting under the car where it’s previously been parked overnight.
Removing and installing a new cylinder head is quite a complex task relative to other fixes that you can perform on your vehicle. However if you follow the necessary procedure it can be completed by anyone with a modicum of mechanical knowledge. You will need the following equipment:
Spanner set, socket set, screwdriver set, breaker bar, pry bar, rags, torque spanner, aluminium paint, engine seals.
Drain the Coolant and Remove Components
The first step before removing the actual cylinder head is to drain the engine’s coolant. Place a suitably large pan under the radiator and open the drain valve and leave it to collect the coolant fluid. Next remove all the components around the cylinder head that could interfere with removal, such as the throttle body, the steering pump mounting and the air filter system.
Deconstruct the Engine Intakes and Manifolds
In order to successfully reach the cylinder head you’ll now need to remove the intake manifold and the exhaust manifold from the part, before removing the valve covers. This should be a simple task using the spanner and socket set. You should only need to unbolt these from round the cylinder rather than having to remove each part from the engine. Finally use the spanner and socket set to take off the timing belt.
Detach the Rocker Arm
If your cylinder head has a rocker arm, then detach this next, otherwise move on to Step 4 in the process. The rocker arm will be held in place by two central mounting bolts. Undo these bolts alternately until they are loose enough to be unscrewed manually and put them in a safe place.
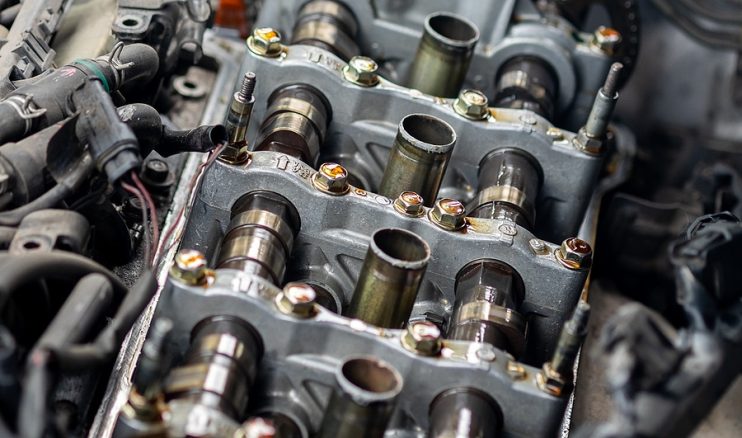
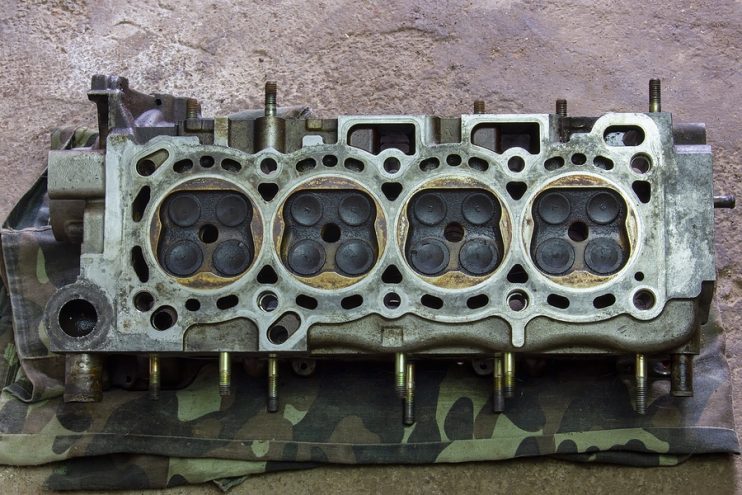
Take Off the Old Cylinder Head
Next unscrew the head-to-block mounting bolts that hold the cylinder head in place. You’ll need to use a breaker bar, ratchet extension and socket. Turn the bolts alternately until they are completely free. This should free up the cylinder head to be lifted clean off the block, although you may need to use a pry bar to help it out of its placing in the engine.
Ready the New Cylinder Head
Check the manufacturer’s instructions to see if the replacement cylinder head needs to be sprayed with aluminium paint prior to installation, and if so spray both sides and let it dry. Set the clean head down on the engine block and ensure that it sits properly on the dowel pins before firmly pushing it into place.
Oil and Attach the Cylinder Head Bolts
Carefully apply a new coal of engine oil to the head to block bolts and then install them manually so they are loosely held in place. Next tighten them using the sequence recommended in your owner’s manual or look up information specific for your model car on the internet.
Reattach Engine Manifolds and Rocker Arm
If your engine has a rocker arm attach this to the cylinder head as the next step and then place the timing belt or chain back on the engine, using a suitably sized spanner and torque the mounting bolts to the recommended tightness. Next reattach the valve covers before securing the intake and exhaust manifolds in place, using new seals to ensure that these are held flush in place and there is no escape of air or exhaust fumes.
Reattach Components and Refill Coolant
Finally reattach the components as in step 1 around the engine and when these are in place refill the coolant system with new, fresh coolant. This should be a 50/50 mix of antifreeze and water for the best results.
Whilst this is a general guide, be sure to always check the particular instructions for your own make and model of car before embarking on a change out procedure. As a final step you should check that the head is installed correctly before heading out on the open road by running your engine and listening out for irregular noises or overheating.
Disclaimer: These articles are for guidance purposes only. If you have any questions regarding any matter
relating to your vehicle we would recommend that you seek the advice of an appropriate professional.
We accept no responsibility or liability should you suffer financial or personal damages in
relation to the advice stated on this website.