It is quite obvious when an electric window isn’t working. You simply won’t get any response out of the control unit. However, it might not be as obvious as to what’s gone wrong. If all the windows in your vehicle are suffering from a similar problem, then the chances are that the fuse is no longer working in the electrical system. Isolate the problem to one single window, and you’re more likely to be looking at a failure in the window regulator or motor unit, in which case the faulty part will need replacing.
Whilst the wiper motor is responsible for powering the window, the regulator controls the up and down movement and locks the window in place. You will need to use an electrical tester to find out whether to replace the regulator or the motor.
This task is rated as moderately difficult, although it does not require any heavy engineering work under the bonnet of the car, you will need to deal with the electronics system.
You will need: screwdriver, masking tape, and voltmeter.
Remove the Door Panel
Using a screwdriver, remove the screws holding the door panel in place and the control console from the handle of the door. This should reveal the plastic insulation inside the door, which usually sits in front of the electric systems.
Identify Components
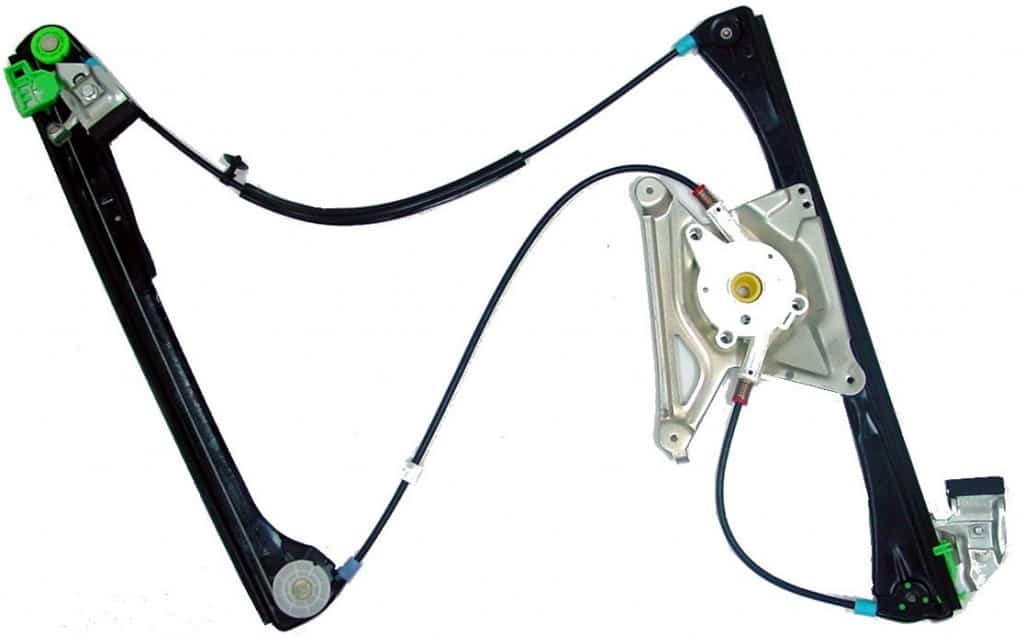
Now you should be able to see the window mechanism, allowing you to identify the motor, mounting bolts, electrical connectors and window regulator cables. When you have found the motor, find the safety clip that holds the electrical connector in place. Disconnect this to take the power away from the systems. Now you should test the electrics across each of the different components including the motor and the regulator to check that the problems are in the regulator.
Inspect Mechanism
Whilst you are inside the car door it’s a good idea to inspect the whole working mechanism to ensure that there are no blocks or problems that might be impeding its movement. Use a can of instant spray oil to lubricate any stuck or stiff parts.
Remove the Regulator
Next remove the regulator from the door. This is usually held in place by a large bolt and a plastic assembly that links the regulator to the window. The plastic assembly is actually part of the window and will need to be detached from the regulator. Remove the bolts that hold the regulator in place. There should be one bracket on the front track and one bracket on the rear track. Once these are removed you’ll need to secure the window in place using masking tape to stop it falling out of position. Finally remove all the electrical connections from the part.
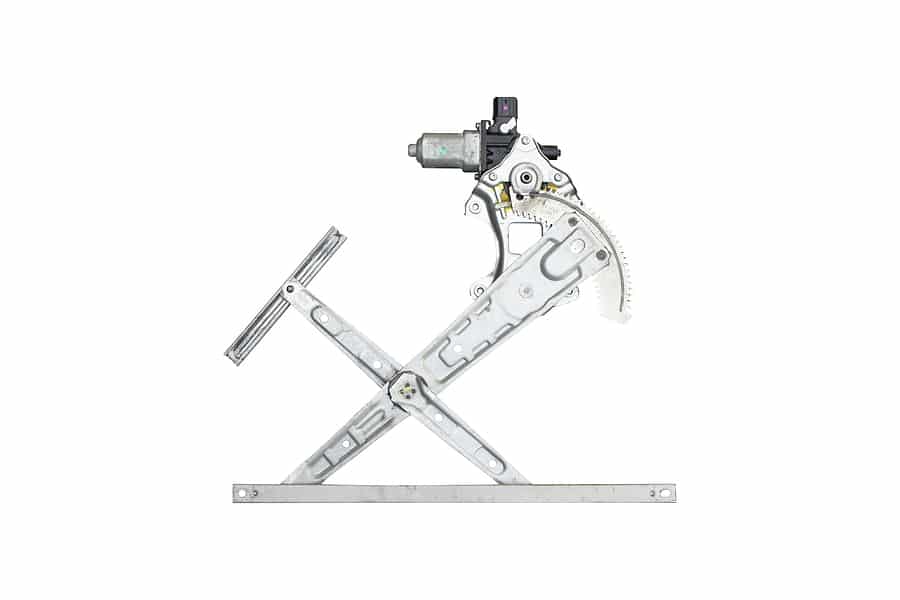
Install a New Regulator
Now simply install the replacement window regulator, reversing the process in the previous steps, taking care when you attach the part back to the glass. When you are satisfied the part is bolted in place then remove the masking tape from the glass and begin to refit the door, putting the insulation in place first before the panels and the door panels last.
When you have completed the procedure, it’s time to then test the part. You should find that the windows operation is now restored with the familiar up and down motion happening at the flick of a switch.


