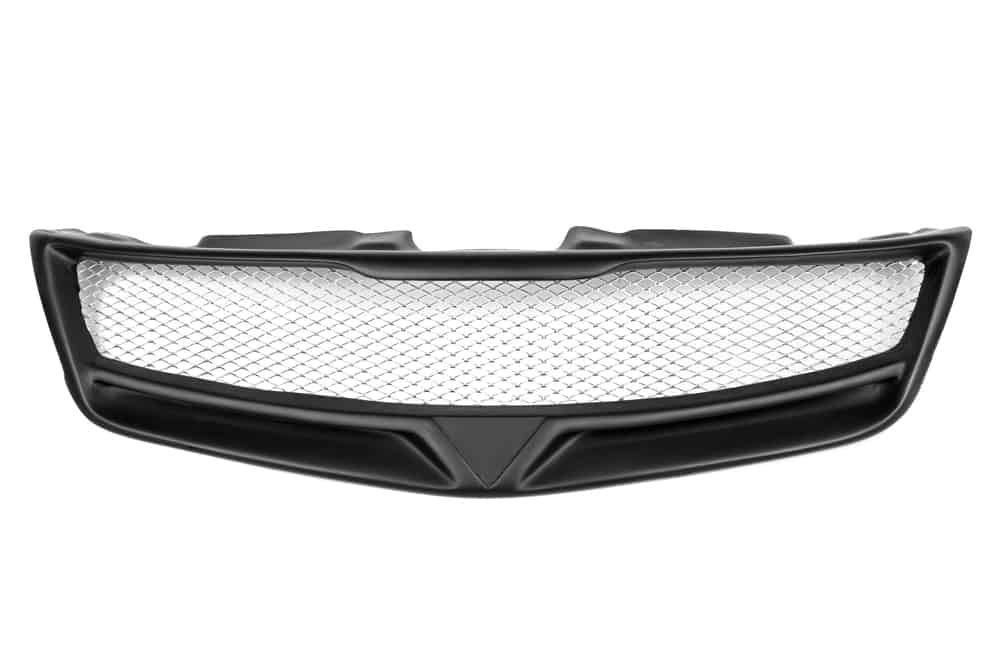
The grille can be found at the front of your car covering the radiator and air intake. Sometimes amateur car lovers can even confuse it with the radiator, but actually it only protects this part from taking in foreign bodies. However, its position does make it fairly prone to damage, especially if you drive on many country roads where you could hit small animals or debris could fly up into the part.A simple visual inspection will inform you as to the current state of your grille, and problems or damage will be obvious. Holes or breakages in the grille should be attended to immediately as they could lead to other parts incurring damage due to debris and particles blowing into your engine bay.
This is a fairly easy replacement job and won’t need any huge amount of engineering or mechanical skill to complete. Still it is best to put aside a good amount of time, around at least one hour for the work.
You will need: Socket set or spanners.
Step One: Locate the Top Section
First you have to remove the grille from its seating in the front of the car. Open the bonnet so you can access this part, which will usually require attention from the top of the vehicle. There may be a cover or some kind of protector strip in place over the grille, which you will need to remove before going any further.
Step Two: Unbolt the Grille
Take time to locate all the bolts that hold the grille in place. These may need spraying with some WD40 or other liquid lubricant to help get them moving. Next choose the appropriately sized spanner or socket head and use this to take all the nuts off the top of the bolts. Put them somewhere safe when you have finished this part of the job.
Step Three: Remove from the Car
It should now be possible to remove the grille from its seating in the car, which will require a little manoeuvring to detach it from its holding position. When you have completely removed this part, next compare it with the new part to ensure you have the exact fit for your car.
Step Four: Slot in the New Grille
Next simply replace the old grille with the new grille by reversing the removal process. It may well be that there’s a need to slide this part in place and click it into position, this should simply require a modicum of precise effort and action. Make sure that it is firmly in place before proceeding to the next step.
Final Step: Bolt in the Grille
Retrieve the bolts from their resting place and use them to fix the new grille in place. It may be advisable to take care not to push them too far into the car’s bodywork as the holes may be made of aluminium or even plastic that could shear and break if an excessive amount of force is used.
When you have finished the replacement work, take the car for a test drive and if there is any kind of rattling or knocking sound coming from the grille, this probably means it is not correctly seated in place. Take the time to inspect it again and ensure that all the bolts are tight enough and the part is properly fitted in the car’s bodywork.
Disclaimer: These articles are for guidance purposes only. If you have any questions regarding any matter
relating to your vehicle we would recommend that you seek the advice of an appropriate professional.
We accept no responsibility or liability should you suffer financial or personal damages in
relation to the advice stated on this website.