A fuel tank is used for one of the most obvious purposes in your vehicle – for holding the fuel. With some forms of modern fuel, such as diesel, a hole or fracture in your tank is dangerous. However if your car runs on petrol the problem could be explosive.
The first sign that you have issues with your fuel tank will be puddles of fuel around your car after it has been parked. Alternatively you may notice that the fuel consumption on your car is higher than normal. An actual inspection of the tank should visually confirm that there is a leak or drip occurring somewhere from the part. Fortunately replacing your vehicle’s fuel tank should be a relatively easy process with very little need to perform any complex mechanical work. However as fuel is involved in this replacement you should take extra care to be as methodical as possible, working in a well ventilated area with the appropriate fire extinguisher, which would need to be a Class B extinguisher.
You will need: Car jacks, spanner set, wrench set, hose clamps, and a fuel can.
Drain the Old Fuel Tank
Before you can install your replacement fuel tank, you will need to remove the old tank. The first step in this process is draining the fuel out of the old tank. Many tanks have a small stop valve on the body of the part that allows you to neatly drain all of the fuel. If this is the case, simply loosen the valve and let the fuel run out into the fuel can. However, if your car has no fuel tank valve then you’ll have to remove one of the fuel lines and use it to drain the tank of fuel.
Remove the Fuel Lines
There should be two fuel lines going into the tank. The smaller line at the bottom of the tank directs the fuel into the engine, whilst the larger line at the top of the tank is used for filling the tank. The third line is an air-line that allows for the decrease in pressure as the petrol travels through the tank. Detach all lines from the old tank.
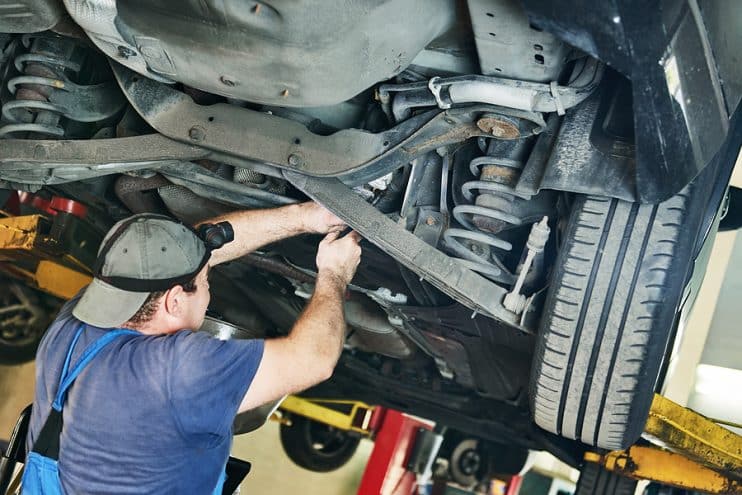
Drop the Suspension
It may be the case that your old fuel tank can be removed without having to drop the rear suspension, if you can freely access this part then move on to the next step. In the case where an axle is blocking access to the old tank you will have to disconnect the shocks and rest the rear suspension beam at the centre with a floor jack. Make sure you disconnect the brake lines too to avoid damaging them and finally bring the whole assembly down to the floor.
Replace the Old Fuel Tank
Finally you’ll need to remove the two metal straps that are held in place by two metal bolts. This is a relatively easy process and will allow you to put the new tank into place, which can then be attached to the car by the same straps. Finally you’ll want to go through the removal steps in reverse to ensure than the lines are in place, before filling the car up with the appropriate fuel.
When you have replaced the tank fill the car up and inspect the tank to check there are no drips or leaks from around the pipes and lines. Once you’re satisfied this is the case the car is ready to go.
Disclaimer: These articles are for guidance purposes only. If you have any questions regarding any matter
relating to your vehicle we would recommend that you seek the advice of an appropriate professional.
We accept no responsibility or liability should you suffer financial or personal damages in
relation to the advice stated on this website.