Blog » Signs of a Dirty or Faulty Fuel Filter and How to Replace
Signs of a Dirty or Faulty Fuel Filter and How to Replace
The fuel filter is often a forgotten feature of your vehicle. Like all filtration systems, it will fail over time as it becomes increasingly clogged with all the particles it’s blocking. You might think of fuel as fairly clean, but even at the pump, fuel can contain many impurities such as dirt, rust from the storage tanks or even chips of paint.
The filter prevents contaminants from reaching the engine, which could impact its performance and shorten its lifespan. How can you ensure your filter is working properly at all times – and also tell when it’s on its way out?
The car’s fuel system draws fuel from the tank, and then passes it through the fuel filter for distribution to the engine, via the injection system or carburettor. It’s then spent as the product of combustion in the engine’s cylinder chambers, with each carefully timed ignition providing the energy needed for motion. The fuel filter forms an essential barrier, preventing dirt such as fuel impurities or rust from entering into the engine. If foreign matter does surpass the filter and enter the engine, this can cause premature wear, damage and a loss in fuel efficiency.
In the last decade fuel filters have become increasingly important as modern car designs use ever more efficient engines. The filter is an essential part that prevents damage in the engine, which could be extremely costly to repair. It’s therefore in the best interests of both your car and your bank account that you keep the filter in good working order.
Symptoms of a faulty fuel filter
Difficulty starting your vehicle
One of the first problems you’re likely to experience with a dirty of failing filter, is trouble starting the car. A clogged filter will deliver a reduced volume of fuel to the engine, resulting in hard starting. If left unchecked over time, then this will completely stop your car from starting.
Poor fuel economy
Your engine is a finely balanced system, controlled by computers that govern the fuel flow into the combustion chambers of the pistons. When the fuel flow is irregular, thanks to a blocked or failing fuel filter, this can mean the incorrect volume of fuel is supplied to the engine, resulting in either unburned fuel or a drop in performance – either will reduce the car’s fuel economy.
Check engine light illuminates
The check engine light is a great indicator that the engine is suffering from issues – such as poor fuel flow and a reduction in overall efficiency, both of which can result from a dirty fuel filter. This is an especially useful indicator that you need to have your fuel filter inspected by a mechanic, when accompanied by other symptoms on this list.
Strong odours
If your fuel filter is blocked, clogged or broken, then it could be both impacting the proper flow of fuel into the engine. If it is broken however, then it could also easily start leaking fuel creating strong odours around the car. This is a serious symptom and even if you don’t suspect the fuel filter, we’d recommend visiting a mechanic, if you smell fuel anywhere around your vehicle.
Stalling
As the fuel flow through a dirty or broken filter becomes increasingly constricted, insufficient fuel reaches the engine. This can be especially problematic when moving the car from a stopped position, as the engine requires more energy to overcome the inertia of the motionless vehicle – often resulting in the engine stalling. Additionally, you may notice stalls immediately after starting the car.
Decrease in power and performance
Out on the open road, a dirty or broken fuel filter will impact the overall performance of the engine, resulting in a decrease in power, which will be especially noticeable under acceleration. This may even be picked up by the internal computer, throwing the car into a special “limp mode” where the vehicle’s speed will be severely reduced to protect the engine. Cars are not supposed to drive in limp mode for extended periods of time, so if this happens you should seek out a mechanic immediately.
Misfiring
An inconsistent flow of fuel to the engine through the dirty or broken fuel filter can cause the engine to misfire, especially under acceleration. You might also experience shakes and shudders at different speeds, as the engine struggles to achieve the flow of fuel necessary to operate effectively.
Damaged fuel pump
If your fuel filter is damaged or clogged up, it will put more strain on your fuel pump as the pump works harder to push more fuel through to the engine. If you find that your pump is faulty, then it’s definitely worth having a look at the filter, to check whether or not this is the cause of the failure.
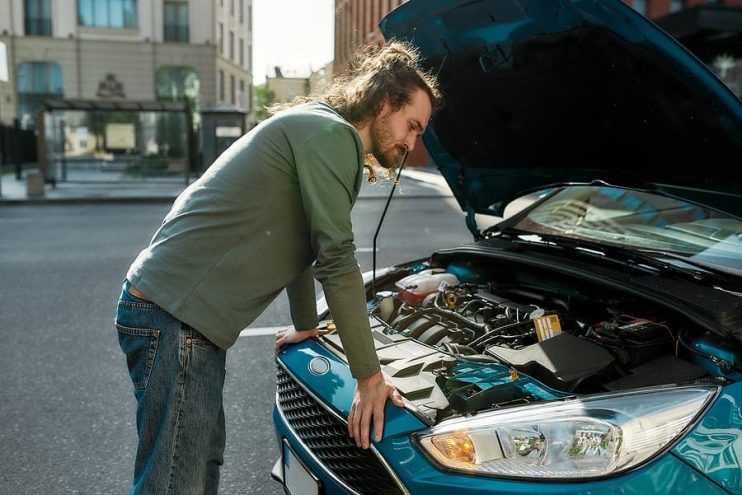
How do I know if the fuel filter is dirty?
A dirty filter often shows up as hesitation when accelerating, difficulty maintaining speed on hills, or surging at steady speeds. If these problems vanish after replacing the filter, it’s a strong sign that the old one was clogged.
Will a dirty fuel filter throw a code?
It can. Modern cars often log trouble codes related to fuel pressure or lean running conditions if the filter is restricting flow. A mechanic can scan your ECU to confirm.
What does a bad fuel filter sound like when accelerating?
While the filter itself doesn’t make noise, its effect on the engine can. You might hear sputtering, popping, or an uneven exhaust note when you press the accelerator, as the engine struggles to get the fuel it needs.
How to tell if a fuel filter needs to be replaced
The best clue is a combination of symptoms — especially poor performance and hard starts — plus age. Most manufacturers recommend replacing the filter every 20,000–40,000 miles, but if you drive in dusty conditions or use lower-quality fuel, it might need changing sooner.
If you’re having problems with the fuel filter, it makes sense to try to unclog and clean it before you go any further. However, if this doesn’t affect the engine’s performance, then it’s not too difficult to replace your vehicle’s fuel filter with some mechanical knowledge.
Can you clean a fuel filter without removing it?
Not effectively. In most cases, cleaning a fuel filter means removing it from the car and flushing it through — and even then, results can be hit and miss. Many modern filters are sealed units that can’t be opened for cleaning, so replacement is usually the best option.
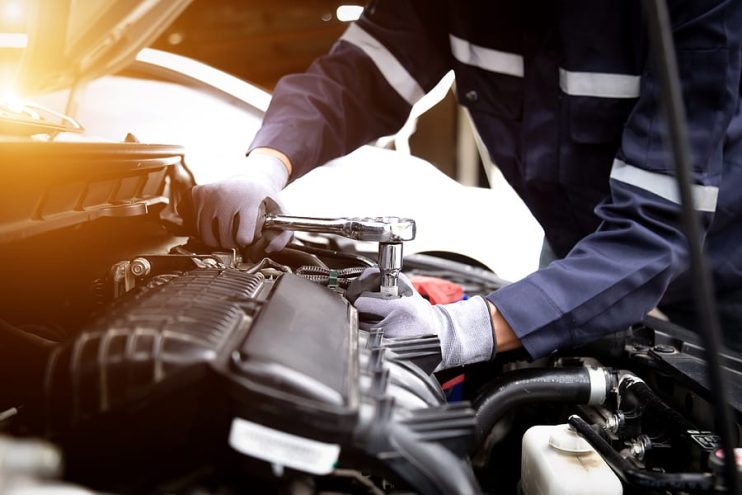
How to replace your car’s fuel filter
Replacing a fuel filter is usually part of a scheduled service, but if you’re confident with tools, it’s a job you can tackle at home. A new filter isn’t usually expensive. You can expect to pay £10–£50 for the part, depending on the vehicle. Labour costs at a garage will add more.
Can I check my own fuel filter?
Yes, by locating it (your owner’s manual will tell you where) and inspecting for visible dirt, corrosion or leaks.
Does a new fuel filter make a difference?
Often, yes. Many drivers notice smoother acceleration, easier starts and better fuel economy after fitting a new one.
Can I replace my fuel filter myself?
If you have moderate DIY skills, the right tools, and follow safety precautions, it’s not too difficult. However, if your car has a filter inside the fuel tank, it is best to leave this to a professional.
Where is my fuel filter located?
Usually, it’s either in the engine bay or underneath the car near the fuel tank. Some are in the fuel tank itself.
Do I need an empty tank to change the fuel filter?
Not empty, but it’s safer and less messy to work with a low fuel level.
Tools and supplies you’ll need
Fuel line release tool
Replacement fuel filter
Socket set
Screwdriver set
Protective gloves and eye wear
Fluid catch basin
Step 1
As with most car part replacement work, you want to have your car on a flat surface with the handbrake on in neutral gear for manuals or in park for automatics with the emergency brake on.
Step 2
Release any pressure that’s built up within the fuel lines of your car by first taking off the fuel cap and then removing the fuel pump fuse or relay. Find out the location of both these parts in your owner’s manual.
Step 3
Turn off your car, remove the keys from the ignition, and disconnect the negative cable from the battery. Wrap the end of the cable in an old rag to prevent any dangerous short circuits.
Step 4
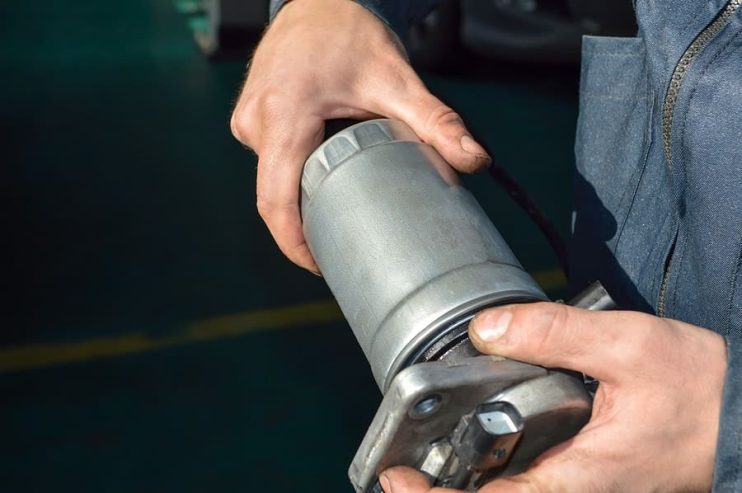
Locate the fuel filter using your owner’s manual or look up instructions on the web. It should be somewhere in the engine bay or under the vehicle near the fuel tank. Be prepared to get down and dirty with some jack stands if need be.
Step 5
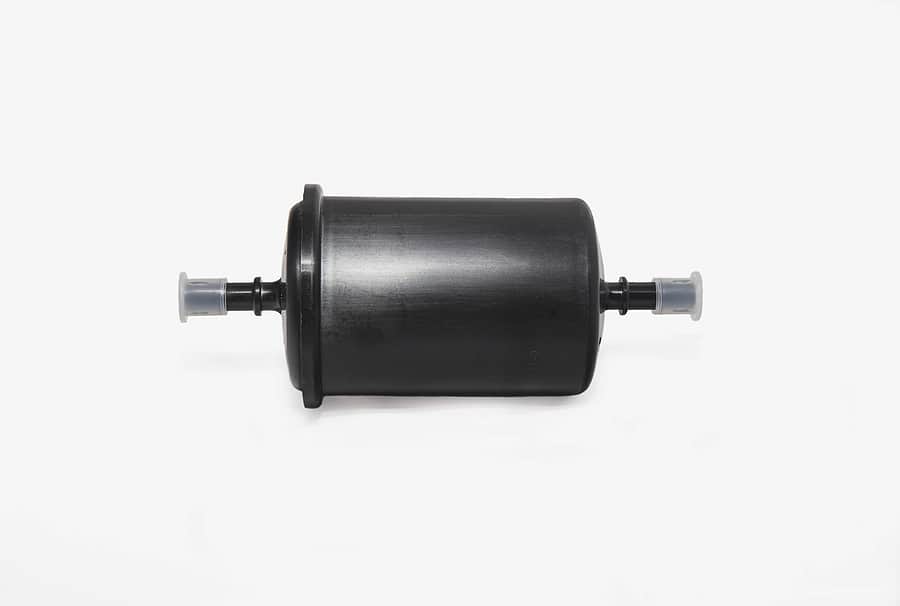
The old rule of thumb. Get the new part out of the box and check that it looks the same before removing the old filter from its position. Fuel filters generally are marked with arrows indicating the direction that fuel flows through the part.
If your new filter lacks these markings, pay special attention to the position of the old filter, even taking a photo if necessary, to ensure you get the new part in the correct way around.
Step 6
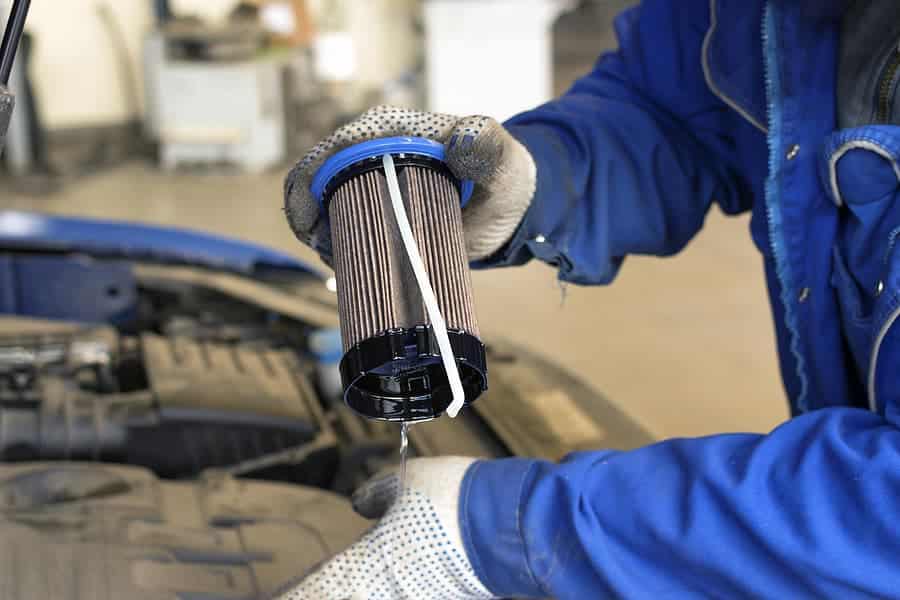
Taking care to protect the clips on the ends of the lines, remove the fuel lines from the fuel filter and then remove the mounting bolts holding the part in place. This should allow you to remove the old part from the car.
Step 7
If you have completed all the above checks, then it should now be a simple question of connecting up the new filter into place in the car. Put all the bolts back into place and clip the fuel lines onto the part. When you are satisfied that everything is correctly in place, re-install the fuel pump fuse. Unwrap the negative battery cable and connect it to the battery.
Step 8
Start your engine in parked or neutral and have a scout about for fuel leaks under the car. Don’t worry if your vehicle won’t start on the first attempt, as this is simply down to a lack of fuel. As soon as the pressure increases and fuel reaches the injectors, the car should get back to normal. Once you’re satisfied everything is in order, it’s time for that test drive.
Can my car run without a fuel filter?
Technically, yes, but it’s a bad idea. Without a filter, dirt and debris can reach the injectors and cylinders, causing rapid wear and costly damage.
What happens if you don’t change your fuel filter?
Performance will drop, starting will become harder, and eventually the engine may fail to run at all. You could also damage your fuel pump or injectors.
How urgent is a fuel filter change?
If you’re already seeing symptoms, treat it as urgent. Delaying the replacement risks more expensive repairs in the long run.
Disclaimer: These articles are for guidance purposes only. If you have any questions regarding any matter
relating to your vehicle we would recommend that you seek the advice of an appropriate professional.
We accept no responsibility or liability should you suffer financial or personal damages in
relation to the advice stated on this website.