The alternator is used to convert rotational energy from the car’s engine into electrical power. This recharges the battery, ensuring that there is always enough current to run your vehicle’s electric circuits. Due to the large amounts of stress and friction on this part, it can go wrong or fail every 60,000 – 100,000 miles, requiring you to either visit a repair garage or replace the part yourself. This is one of the more simple tasks you can perform easily at your own property.
Preparation
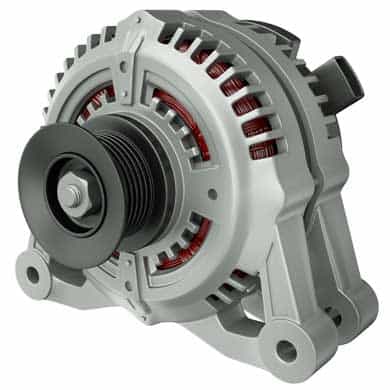
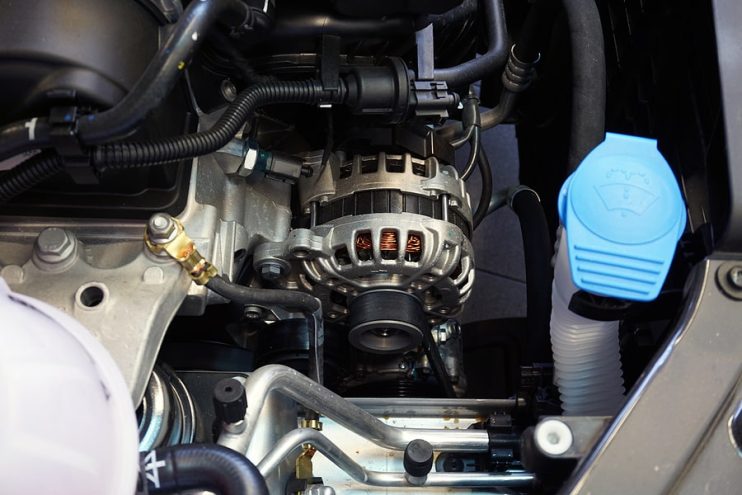
As with all work on your car, make sure that you are working in a dry, clean area with plenty of light. Your vehicle should be parked with the handbrake engaged on a smooth, level surface. The first step is to locate your alternator. This part has a round design and usually sits on the front of the engine block, with a pulley that supplies rotational power to the unit. If you are having trouble finding your alternator you can always use the replacement for identification purposes.
Disconnecting the Wiring
The next step is to remove all the wires that run from your battery into the alternator. There may be one large wire or several wires that are attached to this part, however it is vital that you make sure all are disconnected otherwise you could receive a strong electric shock if you accidentally ground the charge during the change-out process. There may be other wires that are connected to the back of the alternator that will also need to be removed before the part can be taken off the engine.
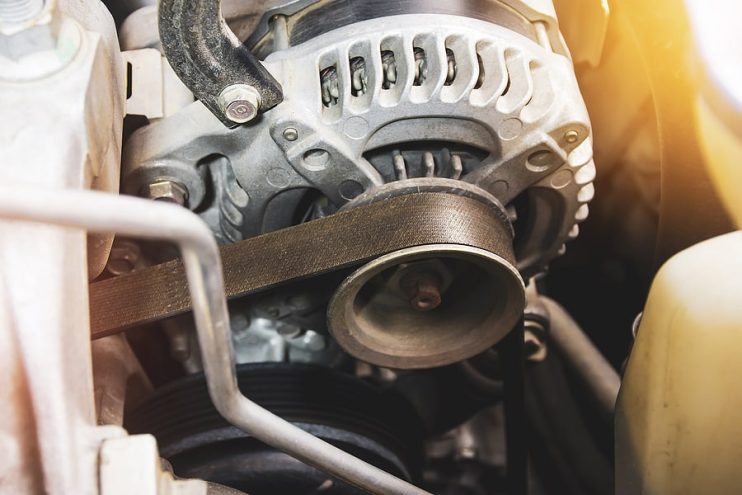
Removing the Alternator Belt
Without doubt the trickiest part of the alternator removal process has to be disengaging the alternator belt from its pulley. Somewhere on the engine there should be a tensioner that is used to ensure that the belt is taught at all times. This needs to be moved in order to allow you to slip the belt off the pulley. It may be the case that you have a screw or rod-end type tensioner that can be loosened through rotation by a wrench. Twist this a couple of times until there is enough slack on the belt for it to be removed.
Bolts
Now you have disconnected all the wires from the alternator and taken off the pulley that allows you to free up the movement of the part, it is a simple case of now taking off the large bolts that hold the bracket, which keeps the part in place. Use a spanner to unscrew these from their holdings and place them somewhere safe ready for reattachment.
Inspection of the Replacement Alternator
Ready the replacement alternator for installation. Make sure that you inspect the part for any obvious signs of damage or stress if you are using a second hand spare, and then compare it to the existing part to ensure you have the right part to fit your car. There can be some differentiation between models and makes or it could be the case that there has been an ordering error. The part should be the same size and shape and the bolt holes should match up – a quick visual scan should be sufficient.
Installation of the Alternator
Once you are satisfied that you have the correct part for your car then go ahead and replace the part. Simply reverse the steps of removal starting with bolting the part to the engine, and then putting the belt back in place and using the tensioner to make sure that it is taught. Finally re-attach all the wires. If you are having difficulty remembering which wires connect to which part of the alternator then you can usually find more information in your owner’s manual.
Test Drive
After you are satisfied that you have installed the alternator correctly then it is time to take your vehicle for a test drive. Whilst driving at a steady speed round your local streets you should take the time to run all the electrics on your car at once – from the radio through to the lights to ensure that your alternator is feeding your car with all the current it needs to run at full capacity.
Disclaimer: These articles are for guidance purposes only. If you have any questions regarding any matter
relating to your vehicle we would recommend that you seek the advice of an appropriate professional.
We accept no responsibility or liability should you suffer financial or personal damages in
relation to the advice stated on this website.